Most webcams fail in the first ten minutes of ownership. You plug the camera in, the picture appears, and you let it make every decision for you: exposure, white balance, focus, frame rate. The result is the look everyone recognizes, slightly gray, slightly soft, with your face losing a fight against a window in the background.
I have been on camera for eight years, first on Twitch and now for corporate video and a weekly podcast that records to video. Webcam setup for streaming has not changed much in that time. The order is always lighting first, framing second, manual settings third, hardware last. Most people run that list backward and then blame the camera.
This is the exact sequence I run when a new camera comes through my setup. It works on a decade-old Logitech and it works on the expensive stuff. Set aside one evening. It costs nothing beyond the gear you already own.
Why you should trust me
I stream and produce video for a living in Austin, and I have put more webcams through the same desk than is reasonable. The C920 that started all of this is still in my drawer as the reference unit, which tells you how little the fundamentals have changed. I do not recommend a camera I have not put on a live stream, and I do not call anything low-light capable until I have turned off the lights and watched the result on an actual stream instead of a still photo.
My biases are on the table. The sensor is the camera. Lighting beats hardware, and a cheaper camera in good light beats a flagship in bad light. Autofocus is a feature right up until it hunts during a podcast. And if a camera needs a driver fight to appear in OBS, it is a toy.
How I picked and how I tested
The camera below is not the newest thing on the shelf. It is the one I keep coming back to because it handles the boring parts correctly: it shows up in OBS as a standard capture device, it lets you turn off the settings that ruin footage, and it holds up under an ordinary key light.
Every camera that lands on my desk goes through the same sequence. Same desk, same 45-degree key light, same bright window behind me that I refuse to close because I want to see how the camera handles a blown-out background. I check the field of view at 65 and 78 degrees, I watch for autofocus hunting while I talk with my hands, and I check whether the settings I change actually survive a reboot. The last test is the only one that matters: does my face look like my face in the recording, or does it look like a witness sketch?
The book further down is not a camera. It is a process reference for the room the camera lives in, and it earns its place for one specific kind of reader, the person managing a build instead of a desk.
The camera that does the boring parts right
Before you change a single setting, start with a camera that lets you change settings. Plenty of cheap webcams hide exposure and focus behind an app that resets everything the moment you unplug.
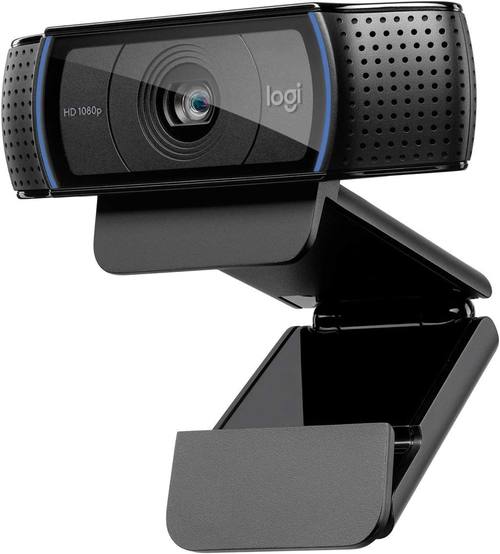
Our pick: Logitech HD Pro Webcam C920, Widescreen Video Calling and Recording, 1080p Camera, Desktop or Laptop Webcam
 Visit on Amazon →
This is the camera I tell people to buy first, and it has been for years. Check current Amazon price. It is a 1080p sensor with a field of view that flatters a desk setup, a clip that actually grips a monitor, and manual controls that live in software instead of a driver you have to fight. The reason it stays the recommendation is not nostalgia. It is that this camera lets you lock exposure, lock white balance, and turn off the autofocus hunting that makes you look like you are having a moment. It also appears in OBS as a standard video capture device the first time, every time.
The caveats are real. The built-in mic is a backup plan, not a plan, so budget for a separate microphone. The mount is a monitor clip rather than a tripod thread, so you will need an adapter if you want the camera at eye level on a stand. Low light is what you would expect from a small sensor: it needs a key light, and if you refuse to light yourself, no camera at this level will rescue you.
Flaws but not dealbreakers: The clip limits where the camera can go, and the plastic body will not survive being thrown in a bag every day. Neither matters for a camera that lives on a monitor.
Who it is for: Anyone starting a stream, a video podcast, or a work-from-home setup who wants to stop thinking about the camera and start thinking about the light.
The actual setup workflow
This is the part you came for. Do these in order. Skipping ahead to step six is why your picture still looks wrong.
Step one: Put the camera at eye level. A laptop camera looking up your nose is a choice, and it is the wrong one. Raise the camera until the lens sits at your eye line, then frame yourself so your eyes land about a third of the way down the frame. If the camera offers field-of-view options, use the narrower setting for a solo face shot and the wider setting when you need to show a desk, a whiteboard, or your hands.
Step two: Fix the light before you touch the camera. One light in front of you beats three lights behind you. Put a key light at roughly 45 degrees off your face and slightly above eye level, and turn off overhead lights that cast shadows under your eyes. A window behind you is the enemy, because the camera exposes for the window and turns you into a silhouette. If you cannot move the desk, close the blind.
Step three: Turn off auto exposure and set it by hand. Open the camera's control software and find exposure. Turn auto off, then raise it until your face is bright and your skin keeps its texture, not until the whole frame is bright. Let the background blow out if it has to. A slightly hot window is fine. A gray, flat face is not.
Step four: Lock focus. Autofocus hunting is the number one webcam annoyance, and it is almost always avoidable. Turn autofocus off and set focus manually to the distance between your face and the lens. If the camera only offers autofocus, simplify the background, keep your chair in the same spot, and stop leaning in and out of the plane of focus while you talk.
Step five: Set white balance by hand. Automatic white balance drifts when anything in the frame changes color, and drift is what makes skin tones look sickly. Set it to the daylight preset, around 5600K, if your key light is daylight-balanced, then leave it alone. Mixed lighting, meaning a warm bulb on one side and a window on the other, is the enemy of a consistent look.
Step six: Pick resolution and frame rate on purpose. For a talking-head stream, 1080p at 30 frames per second is plenty, and it is easier on your encoder. Go to 60 frames per second if you move a lot or play games on camera. Ignore 4K claims on small sensors, because the sensor is the camera, and a tiny chip behind a 4K label is still a tiny chip.
Step seven: Add the camera to OBS as a video capture device. Choose the device from the list, set the resolution to match your canvas, and avoid scaling the source. If you see a delay between your lips and the audio, disable buffering on the source. If the camera does not appear at all, move it to a different USB port before you start downloading drivers.
Step eight: Handle audio separately. The microphone on a webcam picks up the room, the fan, and the keyboard. Use a USB or XLR microphone on a boom arm or a stand, keep it close to your mouth and off the desk, and treat the webcam mic as a backup at most. Viewers forgive a soft picture. They do not forgive bad audio.
Step nine: Record a test and watch it on another screen. Watch the whole thing with the sound on. Look for focus hunting, a blown-out forehead, a green cast on your skin, and a frame that cuts off the top of your head. Fix one thing at a time and record again. Ten minutes here saves a year of "why does my stream look like that."
A few caveats worth knowing before you walk away. Some cameras forget their settings after a reboot, so check yours the next morning and save a profile if the software allows it. If the camera and a capture card share a USB controller, expect dropouts, so move one of them to a different port. And if you use a ring light, check for flicker on camera before you commit to it, since not every light plays nicely with every shutter speed.
Settings that matter and settings that do not
Matter: exposure lock, white balance lock, focus lock, field of view, the position of your key light, and where the microphone sits. Those six things decide whether your stream looks intentional or accidental.
Do not matter much: digital zoom, beauty filters, face-tracking gimmicks, aggressive noise reduction, and HDR on a small sensor. Every one of those is a software trick that costs you detail somewhere else. Turn them off and solve the problem with light and framing instead.
If you are building the room, not just the desk
Some readers are not setting up one camera on one desk. They are speccing a studio, a conference room, or a client's office, and the question has stopped being which webcam to buy. That is a project delivery problem, and it is the one place in this guide where a book belongs.
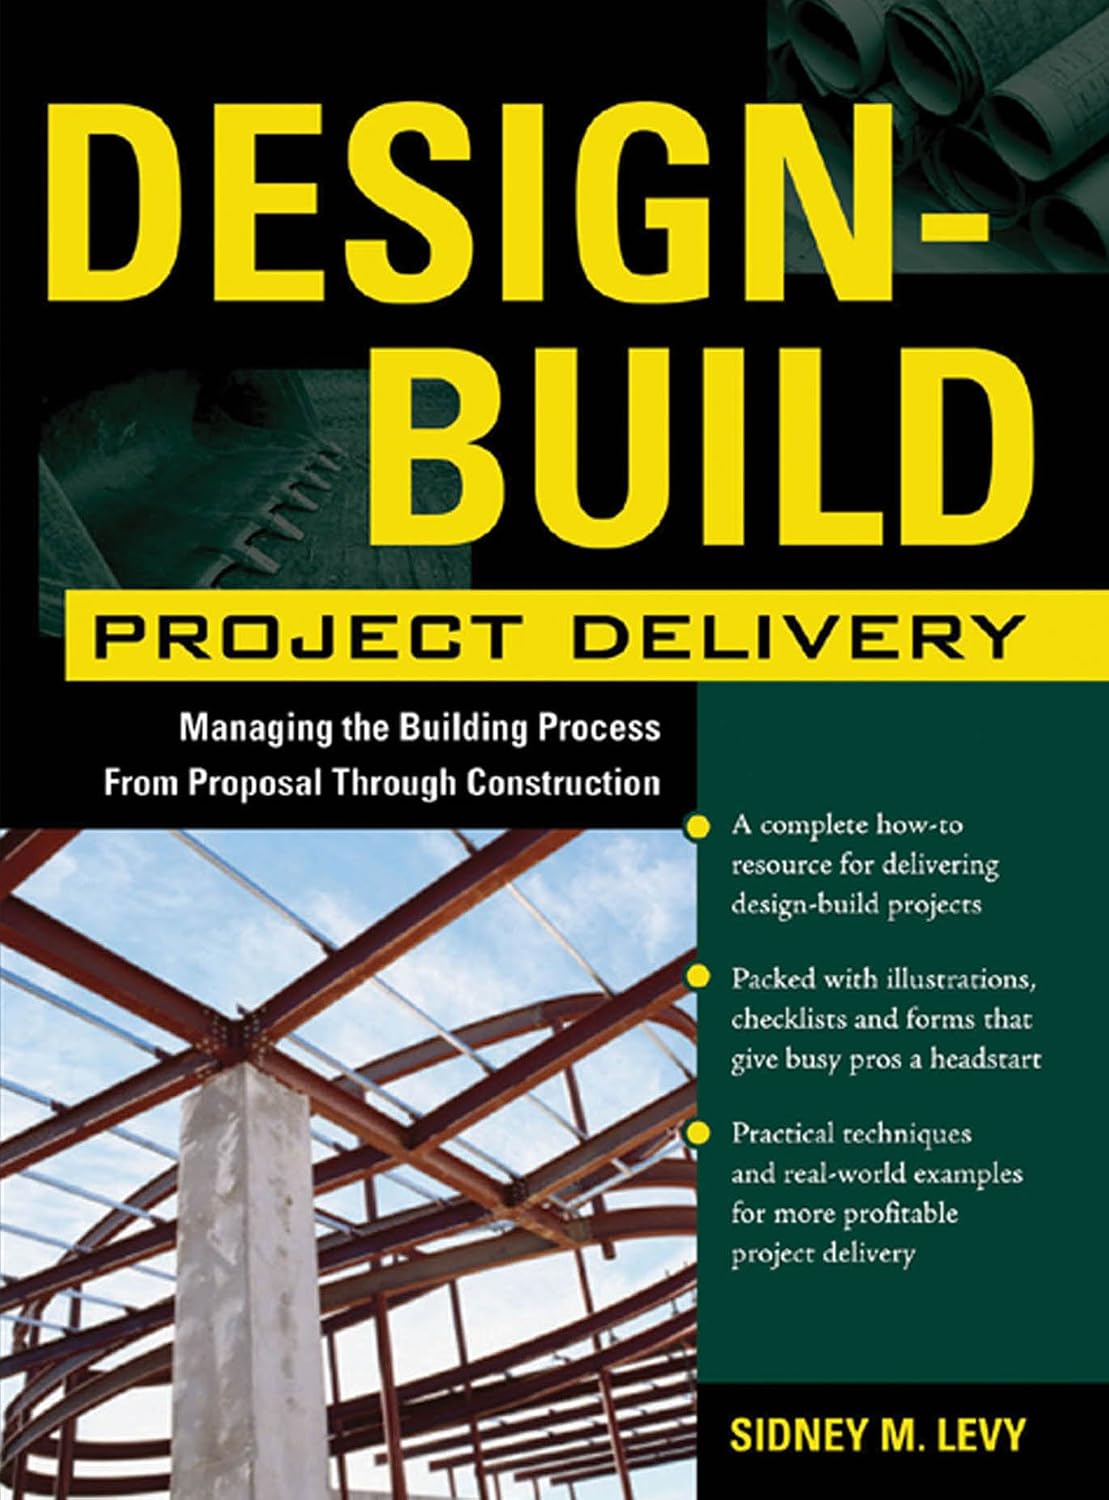
The project reference: Design-Build Project Delivery: Managing the Building Process from Proposal Through Construction
 Visit on Amazon →
Check current Amazon price. This is the book I hand to people who are running a build instead of buying a camera, because it walks the design-build process from proposal through construction, which is the same shape as a studio or conference room project: scope, budget, schedule, and the moment a client changes their mind. It is a process book, not a gear book. There are no camera specs inside it. What it gives you is the vocabulary for the parts of a build that go wrong, from change orders to the gap between what was proposed and what actually got built.
Flaws but not dealbreakers: It is written for construction and architecture professionals, so the examples are buildings rather than studios, and you will be translating as you read. If you wanted a camera review, this is not that.
Who it is for: Anyone managing a room build, a multi-camera install, or a client production project where the camera is the cheap part and the schedule is the expensive one.
What I skipped and why
I left out the sub-$100 cameras with a 4K sticker on a small sensor, because the sticker is marketing and the sensor is the camera. I left out cameras that need proprietary software to change exposure or focus, because a camera that fights you on a Tuesday will fight you during a stream. I left out face tracking and auto framing, which are genuinely useful for presenters and genuinely distracting for a podcast where the frame should not move. And I left out every camera that hunts focus while you talk, no matter how good the spec sheet looks.
The bigger skip is the upgrade itself. If your face is lit by one overhead bulb and you are shopping for a new camera, buy a light first. That single change will do more for your picture than any camera in this guide.
What this all costs
The camera is one purchase, and you can check current Amazon price for it. The book is another, and you can check current Amazon price for that too. Everything else in this workflow is free: a window blind, a repositioned desk lamp, twenty minutes in the camera software, and one test recording.
Do the math on hours instead of dollars. If you spend a couple of hours a week on camera, the settings work you do tonight applies to every camera you buy after this one. The light, the framing, and the locked exposure are what people actually notice. Nobody has ever clicked away from a stream because the sensor was 1080p.
That is the job. The camera was never the hard part.