Most webcams do not look bad because they are cheap. They look bad because of where they sit and what light hits them. A 1080p webcam setup that follows three rules, lens at eye level, light in front of your face, exposure settled before the call starts, will beat an expensive camera pointed at a bright window from desk height every single time.
I have been streaming and shooting corporate video for eight years. I ran a weekly podcast on camera for most of that, and I have watched more webcam footage than any reasonable person should. The pattern never changes: people buy hardware to solve a lighting and positioning problem, then blame the hardware when it does not work.
This guide runs in the other order. Position, light, exposure, then the camera. If you already own a webcam, most of this is free and takes twenty minutes. If you do not own one yet, there is a budget pick further down that handles the basics without asking you to spend flagship money.
Why you should trust me
I started on Twitch with a C920 clamped to a monitor arm, moved into corporate video production, and now spend most of my week behind a camera that has to make executives look like the people in their own LinkedIn photos. In between, I have owned, borrowed, or rescued from a junk drawer more webcams than I can count, from the 4K flagships down to units that cost less than dinner.
Two things I have learned the hard way, and they drive everything below:
- The sensor is the camera. A 4K label on a tiny sensor is a sticker, not a spec.
- Lighting beats hardware. A modest webcam in good light outshoots an expensive webcam in bad light, and it is not close.
I also have opinions about software. If a camera needs a proprietary app to change basic settings, or if it fights OBS for twenty minutes, that is a strike against it no matter how the image looks. And autofocus is a feature right up until it hunts during a podcast. The best webcams let you lock focus and leave it alone.
What I checked, and what I could not
I am not going to pretend I ran these two units through a full bench with a waveform monitor. What I can do is tell you exactly what the listings claim and what my standard checklist looks for, so you can run the same checks in the first five minutes after the box arrives.
What the listings state, and what I can repeat without inventing anything: 1080p FHD resolution, a noise-canceling mic, auto light correction, a privacy cover, a wide angle lens, and plug and play USB over laptop, desktop, PC, or Mac, with Zoom, Teams, and streaming apps named as compatible.
What I check on any webcam before I trust it:
- Does it work in OBS without a driver fight? Plug and play is the claim. Verify it on your machine, not on the box.
- Does the image hunt? Move a hand into frame and back out. If the picture breathes in and out while you talk, that is a problem for any talking head video, and it is the number one webcam annoyance I hear about.
- What does the field of view do to your room? A wide angle lens sees more of everything, including the laundry you forgot about.
- How does the mic handle a fan? Noise canceling is a feature, not a guarantee, and the mic on a webcam is a backup plan at best.
None of that needs a lab. It needs ten minutes and the app you actually use.
The camera for this setup
Both entries below are the same model from the same line, so the choice between them is about how you use it, not about which one wins on paper. The listing you pick should be the one that ships fastest and arrives with the accessories you need.
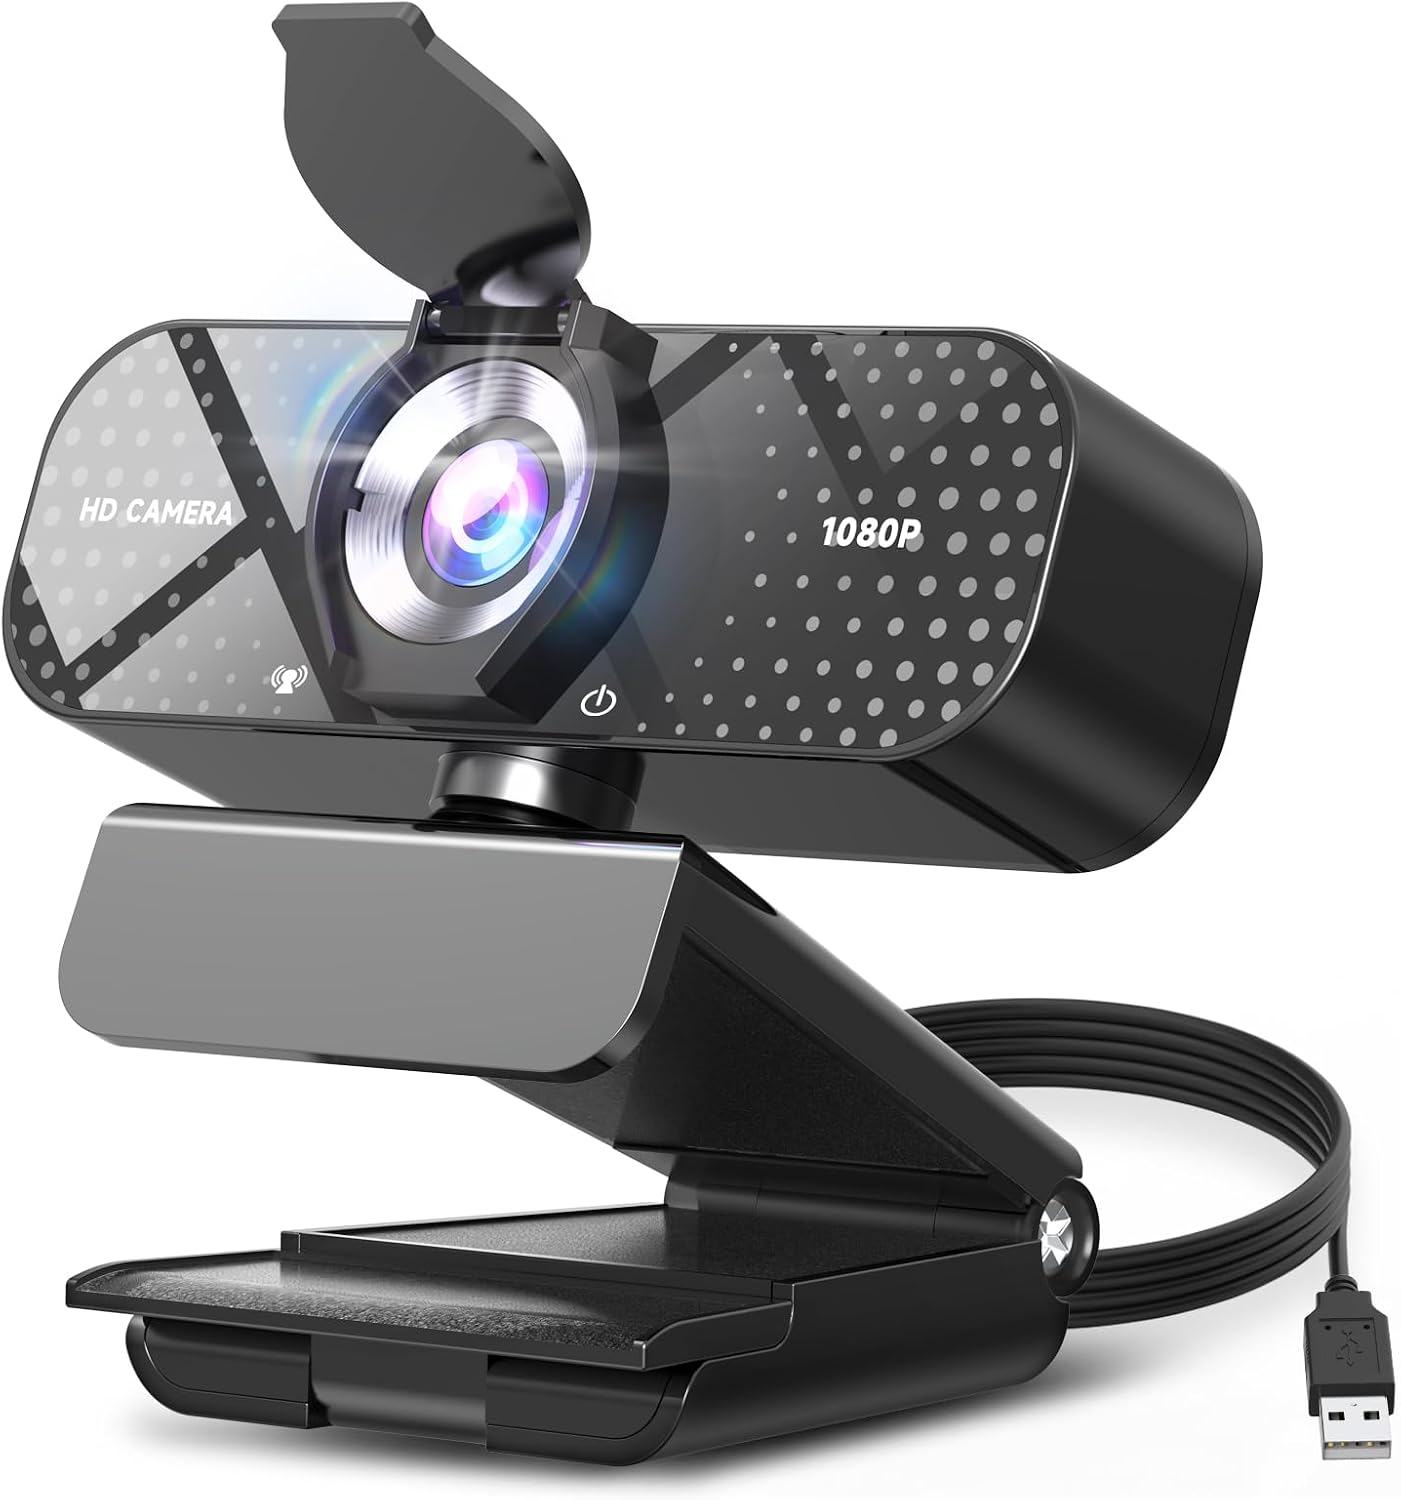
Our pick for a fixed desk: TRAUSI 1080P FHD Webcam with Noise-Canceling Mic, Auto Light Correction, Privacy Cover and Wide Angle Lens, Plug & Play USB Camera for Laptop/Desktop/PC/Mac, Compatible with Zoom/Teams/Streaming
 Visit on Amazon →
For a desk setup, 1080p is the right resolution to aim for, and it is the resolution the meeting platforms were built around. Zoom and Teams recompress everything you send, so the difference between 1080p and a higher number mostly disappears in the call. What survives compression is light and contrast, which is why the steps further down matter more than the spec sheet.
The wide angle lens is the feature to think about before you buy. It lets you sit back from the monitor without your head filling the frame, which is how you want to look on a call: head and shoulders, a little headroom, room to gesture. The tradeoff is that it also frames whatever is behind you. Tidy the wall or set up a background before your first call rather than during it.
Auto light correction is genuinely useful when your room light shifts through the afternoon, and it is the first thing to fight you once you put a real key light on your face. If your app lets you lock exposure and white balance, do it. The privacy cover is the one physical feature people actually use every day, and it beats any software toggle.
The noise-canceling mic is fine for a quick call and a backup for anything you record. Treat it that way and you will not be disappointed.
Flaws but not dealbreakers: At this price and size class, a dim room is still a dim room. No correction algorithm fixes a face lit only by a monitor. Fix the light and the camera looks dramatically better.
Anyone setting up a single monitor at a fixed desk, on a budget, who wants a camera that plugs in and works, should start here.
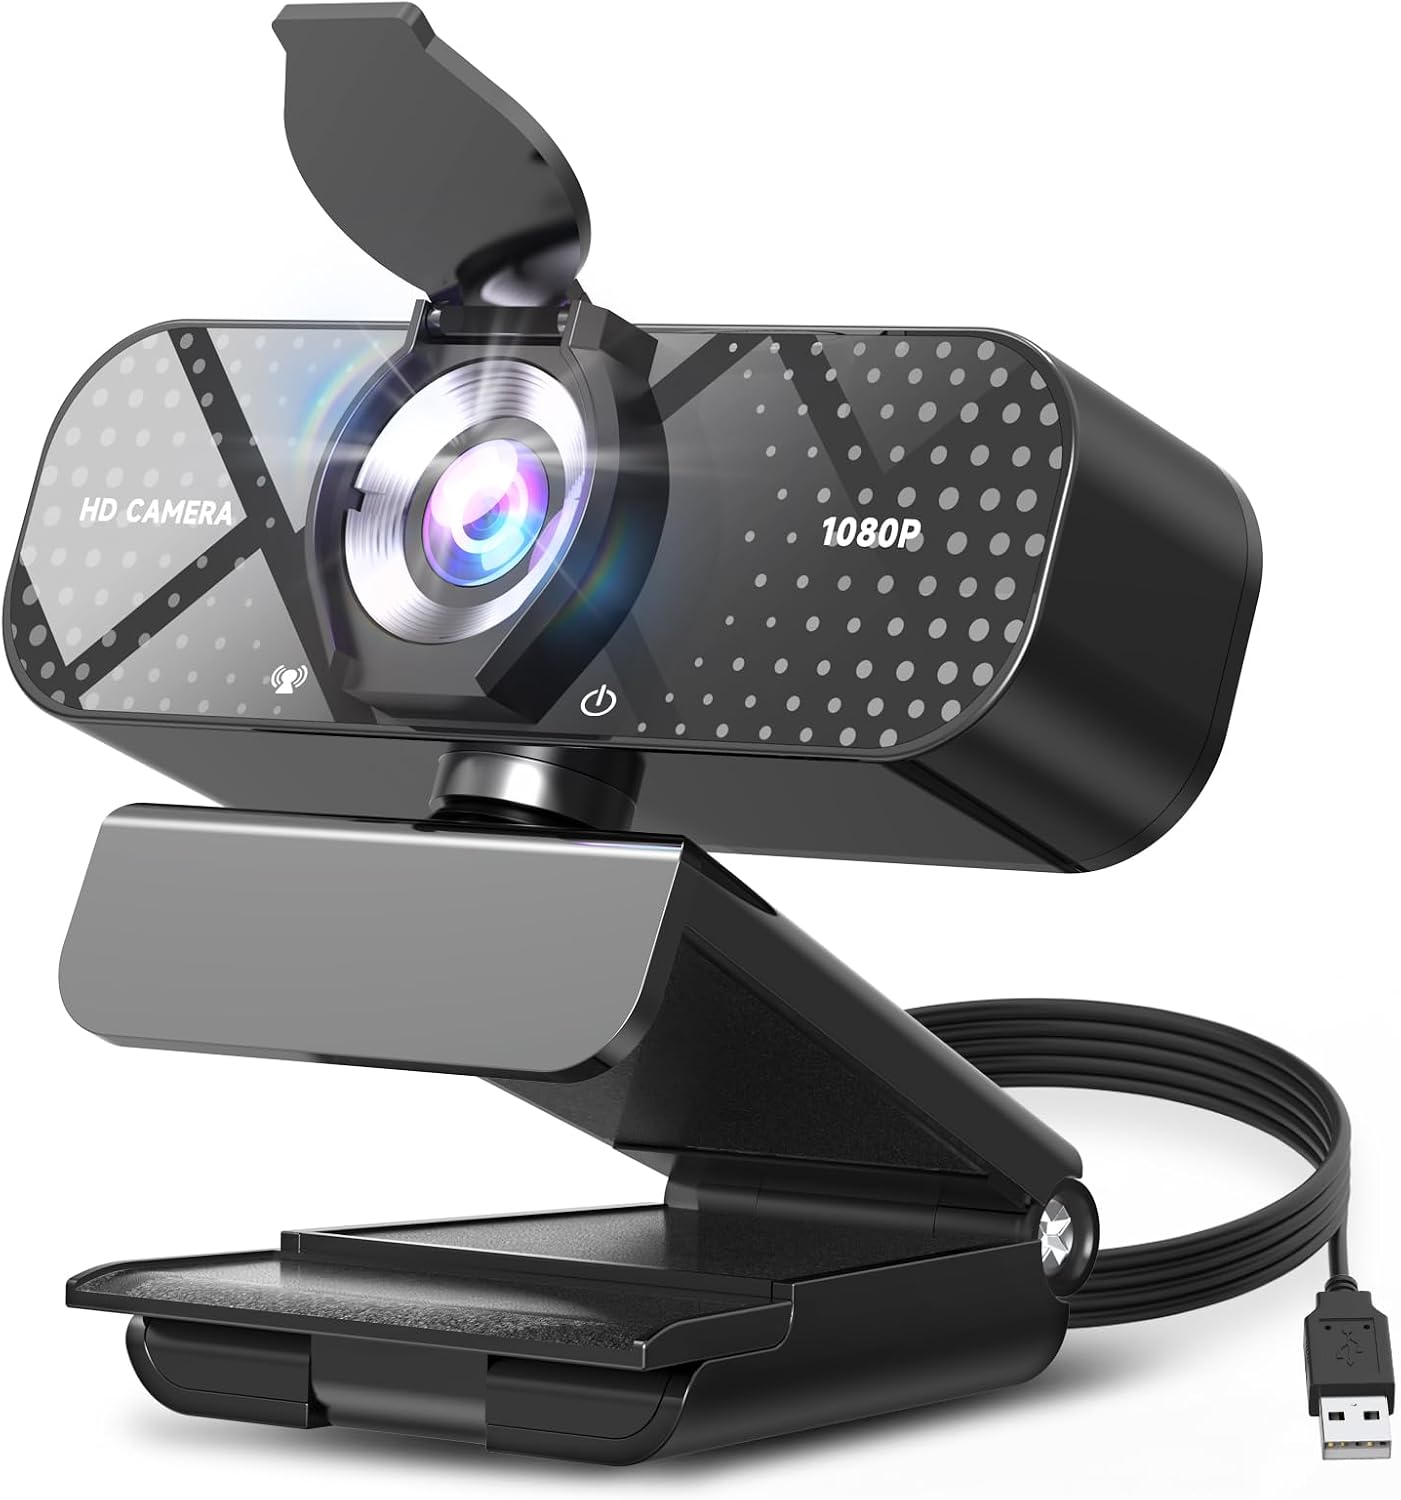
The pick for a laptop bag: TRAUSI 1080P FHD Webcam with Noise-Canceling Mic, Auto Light Correction, Privacy Cover and Wide Angle Lens, Plug & Play USB Camera for Laptop/Desktop/PC/Mac, Compatible with Zoom/Teams/Streaming
 Visit on Amazon →
Same camera, different job. If you move between a home desk, an office, and a hotel room, this is the unit to keep in the bag, because plug and play USB is the entire point. No driver install, no admin password prompt on a locked-down work laptop, no proprietary app to install before you can be seen.
The privacy cover earns its place on the road. Hotel rooms and shared offices are exactly where a physical shutter stops being paranoia and starts being common sense. The wide angle lens also does you a favor in a small room, because it lets you push the laptop back and get some distance between your face and the lens. Laptop lid cameras look up your nose from two feet away, and a separate camera you can raise is the fix.
The built-in mic covers a call from a hotel desk without you unpacking a headset. For anything you record or anything with a client on the other end, bring a real microphone. Your voice is the thing people forgive least.
Flaws but not dealbreakers: A wide angle lens in a small room shows a lot of that small room. Aim it at a wall, not at the bed.
Anyone who works from more than one location, or who has a laptop with a genuinely bad built-in camera, will get their money's worth here.
The setup workflow
Now the part that changes how you look. This works with either camera above and with whatever webcam you already own. If your camera has a Movie mode, ignore that, it is a different article. This is the video call version.
Step one: Get the lens to eye level. This is the single biggest upgrade available to you, and it is free. Stack of books, a small tripod, a monitor clamp, anything that puts the lens at the height of your eyes. Laptop lid cameras are the worst case because they sit below your chin and look up. If you use a laptop, raise the laptop or use an external camera. Nobody looks good from below.
Step two: Sit at the right distance for the field of view. With a wide angle lens, 24 to 30 inches from the camera is the sweet spot. Close enough that your face reads clearly, far enough that the lens is not distorting your nose. Frame yourself head and shoulders with a little headroom above. If you have to lean in for the shot, you are too far away.
Step three: Fix the light before you touch a single setting. Window in front of you, not behind you. This is the rule that solves ninety percent of bad webcam video. A window behind your head turns you into a silhouette, and no amount of auto correction saves it. If you have no window, put a lamp behind the camera at face height. A ring light works, a desk lamp aimed at the wall in front of you works, and both beat anything the camera can do on its own.
Step four: Kill the mixed color temperatures. Turn off the overhead light and use one source. When a warm bulb and a cool window fight over your face, you get one orange cheek and one blue cheek, and it looks like a white balance failure because it is one. One light source, one color.
Step five: Set resolution and frame rate in the app. Go into Zoom, Teams, or OBS and confirm you are actually sending 1080p. Plenty of apps default to 720p and stay there forever. Thirty frames per second is plenty for a call. If your upload connection is weak, drop to 720p deliberately rather than letting the app guess.
Step six: Lock exposure and white balance if your software allows it. Auto light correction is a helper, not a lock, and it will pump your brightness up and down when a cloud passes or someone opens a door. If you can set exposure manually, set it once in your normal lighting and leave it.
Step seven: Test in the app you actually use. The camera's own preview window lies to you. It usually shows a cleaner, brighter image than the meeting app will. Open the real app, join a test meeting, record thirty seconds, and watch it back. That recording is the truth.
Step eight: Deal with the mic. The webcam mic is a backup plan. If you use it, keep your mouth within about three feet and get the camera away from the fan, the air vent, and the spinning hard drive. If you record anything, use a real microphone. The camera is the purchase, the mic is the afterthought.
Step nine: Close the privacy cover when you are done. Every time. It is the cheapest security habit you will ever build.
Caveats worth knowing after week one
A few things show up once the novelty wears off.
- Auto light correction can fight your key light. If your face looks like it is pulsing, that is the auto exposure hunting. Lock it or turn the feature off.
- Wide angle shows your room. Virtual backgrounds on a busy background look like a bad green screen. Move the camera, tidy the wall, or accept the room.
- Plug a USB camera directly into the machine. Cheap hubs cause dropouts and frame stutter that people blame on the camera.
- If a camera needs a proprietary app to change basic settings, that is friction you will feel every time you switch computers. Prefer the camera that behaves like a plain USB device.
- Nobody on the call cares about your resolution. They care whether your face is lit and whether your audio is clean.
When this camera is the wrong pick
The honest answer is that this class of camera is the wrong pick if your problem is not lighting. If you shoot in a genuinely dark room and you refuse to add a lamp, you need a bigger sensor and a bigger budget, and even then you should add the lamp.
It is also the wrong pick if you need 4K for cropping, which is a real workflow for editors who punch in on a talking head. It is the wrong pick if you need locked manual focus for product shots or a fixed camera angle that never hunts. And it is the wrong pick if you are a streamer with a key light and a full OBS pipeline who wants manual control over every parameter.
For everyone else, which is most people reading this, the camera is not the bottleneck. Your camera height and your window are.
What this all costs
The camera is the cheapest line item in the whole equation. The light you already own is free. The window is free. The stack of books under your laptop is free. The twenty minutes it takes to run through the nine steps above is free.
What people actually spend money on, in order of how much it improves the image: a decent light, a real microphone, a way to raise the camera to eye level, and then the camera itself. Most people buy that list backwards, which is why so many setups with expensive cameras look worse than a budget webcam in a good room.
Do the free part first. Set the camera at eye level, put the light in front of your face, lock your exposure, and test in the app you actually use. If the image still disappoints after that, then you have a hardware problem worth spending on, and the budget pick above is where I would start.
That is the job. Your face was already fine. The camera just needed help.