A Logitech C920 webcam setup that looks better than a $200 camera in bad light comes down to three things you control before you open a single settings menu: where the camera sits, where the light comes from, and how much of the room is in the frame. The C920 is a 1080p camera that has been on the market for over a decade, and it is still the one I tell people to buy first, because it does the two things that actually matter. It autofocuses, and it works in OBS without a driver fight.
I have been behind cameras for eight years, from Twitch streams to corporate video work, and I have set up the C920 in more rooms than I can count. Bedrooms, rented offices, a converted closet with a foam panel taped to the door. The camera was never the problem in any of those rooms. The light was, and the camera angle was.
This is the workflow I use. It takes about half an hour the first time, five minutes every time after that, and none of it requires you to buy anything except a light.
Why you should trust me
I started on a C920, moved up to the 4K flagships, and came back to a C920 on my daily machine because it is reliable and it never surprises me mid-stream. In between I have run video for corporate shoots where the client's "cinema camera" got out-resolved by a phone, and I have watched a $30 Amazon special turn a real human face into a witness sketch.
I care about three things when I judge a camera: sensor size, dynamic range, and whether autofocus behaves or hunts. I do not care what the sticker on the box says. "4K" on a tiny sensor is marketing, not quality, and no amount of resolution fixes a face lit by a ceiling bulb.
How I judge a webcam setup
Every setup I build gets checked against the same short list, and the list has nothing to do with price:
- The sensor is the camera. A bigger imaging chip captures more light. That is the whole story behind low-light performance, and it is why a cheap sensor in a dark room always loses.
- Lighting beats hardware. A $200 webcam in bad light loses to a $60 webcam in good light. Every time. I have watched it happen in the same room on the same day.
- Autofocus is a feature until it hunts. The best webcams let you lock focus. Hunting during a podcast is the number one annoyance I hear about.
- If it does not work in OBS without a driver fight, it is a toy. Setup should take minutes, not an afternoon of reinstalling.
- The mic on a webcam is a backup plan. The camera is the purchase. Audio is a separate budget line and a separate article.
What you need before you start
You do not need much, but you do need all of it before you start tuning:
- A camera on something stable. A monitor clip, a tripod, or a stack of books. Stability matters more than the mount.
- One light you can move. A cheap LED panel or a ring light is enough to start. A window in front of you is free.
- A USB port on the machine itself, not a hub shared with three external drives. Bandwidth problems look like camera problems.
- A way to see yourself full size while you tune. OBS on a second monitor, or the camera app in a window you can drag next to your face.
- Twenty minutes with nobody walking through the room.
The camera for this build
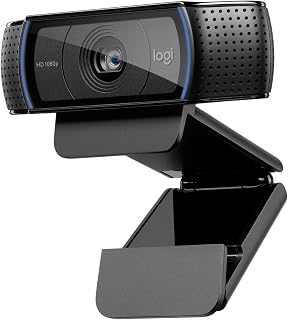
The camera: Logitech C920 Hd Pro Webcam (Black) Black
 Visit on Amazon →
This is the default recommendation for a reason, and the reason is not the spec sheet. It shoots 1080p, it autofocuses, and it has mics built in that are perfectly fine as a backup. The glass lens is the part that matters at this price: it gives you a cleaner, less smeared image than the plastic-lens cameras that undercut it, and the whole thing is plug and play in OBS, Zoom, Meet, and Teams.
The honest limits: there is no 4K here, and there should not be at this tier. Low light is where it falls apart, because the sensor is small and small sensors need light. If you stream at night with the ceiling light on, the image will be grainy, and no setting fixes that. Buy the light first. The monitor clip is also fine on a thin panel and wobbly on anything else, so plan on a tripod if your desk gets bumped.
Flaws but not dealbreakers: The autofocus will hunt in a dim room, and it will do it in the middle of a sentence. You can lock it in most apps, and the fix for the rest is more light.
Anyone who needs a dependable 1080p face shot for streaming, calls, and recorded video, and who is willing to spend fifteen minutes on framing, will be happy with this camera for years.
If you are building the room, not just the desk
Most people reading this are setting a camera on a desk. Some of you are converting a garage, framing a wall, running power, and hiring a contractor. That is a construction project, and it has a process.
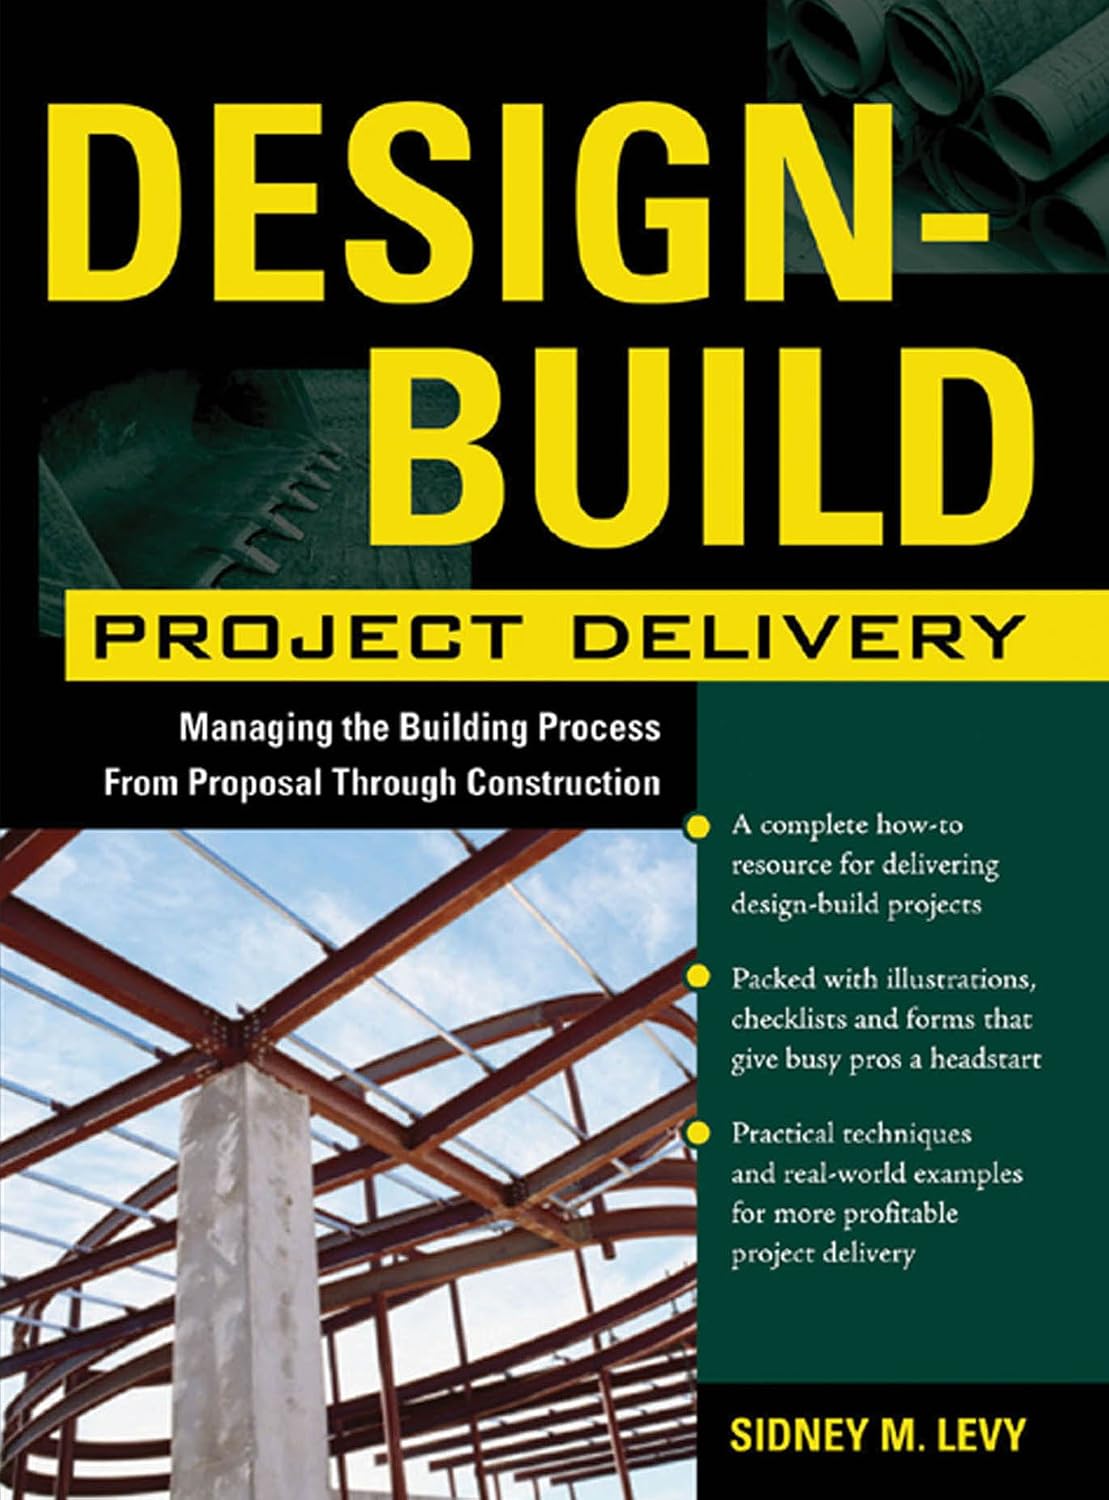
The room-planning resource: Design-Build Project Delivery: Managing the Building Process from Proposal Through Construction
 Visit on Amazon →
This is not a camera book, and I am not going to pretend it is. It is a book about running a design-build project from the proposal stage through construction, which means it is about scope, contracts, schedules, and how a build goes sideways when nobody owns the details. If you are turning a spare room into a studio, that is exactly the set of problems you are about to have: who draws the plan, who pulls the permits, who runs the conduit for your cable runs, and who is responsible when the electrician and the drywall crew disagree.
The caveat is important. It is written for the commercial building industry, not for streamers, and the vocabulary is construction vocabulary. If you are renting an apartment and hanging a foam panel on the wall, this book is not for you. If you are spending real money on a room you intend to keep, it will save you more than it costs, because the expensive mistakes in a build are always the ones nobody planned for.
The actual setup workflow
Now the part you came for. This works with the C920 and with almost any USB camera, and you can do it in one sitting.
Step one: Get the lens to eye level. A camera sitting on a laptop hinge looks up your nose and makes your chin the largest thing in frame. Move the camera so the lens is at your eyeline or a hair above it. This single change does more for how you look than any setting on this page.
Step two: Set the frame with distance, not zoom. Sit three to four feet back so your head and shoulders fill the frame with a little headroom. Field of view is how much of the room the camera sees: around 90 degrees is right when you have a guest at the desk, and closer to 65 for a solo face shot. Move your chair instead of hunting for a zoom control.
Step three: Fix the light before you touch exposure. Put your key light about 45 degrees off your nose and slightly above eye level. A window in front of you is free light and often better than a panel. Turn off overhead-only lighting if you can, because a single bulb directly above your head drops your eye sockets into shadow and gives you the raccoon look. One light in front beats three lights behind.
Step four: Kill mixed color temperature. If your key light is warm and the window behind you is cool daylight, your skin will go orange on one side and blue on the other. Pick one source as your key and either block the other or match its color. This is the most common cause of "why do I look sick on camera."
Step five: Take white balance off auto. Auto white balance drifts whenever anything moves in the room. Set it manually once, in the app you already use, and it will hold for the whole session.
Step six: Take exposure off auto. Auto exposure will brighten the whole frame the moment you wear a white shirt, and your face will get darker to compensate. Lower the exposure until the highlights on your forehead stop clipping, then raise your key light if the rest of you is too dark. Raising gain instead of light is how you get noise.
Step seven: Lock the focus. If your app supports manual focus, set it once at your sitting distance and leave it. If it does not, add light, because autofocus hunts in dim rooms and stops hunting when it has contrast to work with.
Step eight: Build the background. Give yourself three or four feet of depth behind the chair. One small light pointed at the wall behind you separates you from it. Avoid the bare white wall and avoid the shelf full of clutter. Depth reads as production value.
Step nine: Wire it into OBS. Add a Video Capture Device source, select the camera, set the resolution to 1920x1080 and the frame rate to 30, and turn off "deactivate when not showing" so the source does not go dark when you switch scenes. If the image stutters or tears, enable buffering on the source. If it looks flat and washed out, check the color range setting and match it to the camera instead of leaving the mismatch in place.
Step ten: Stop using the webcam mic. It picks up the fan and the keyboard, not you. Use a dedicated USB mic, keep the webcam mic as a fallback, and your recordings will sound like a different channel.
Problems you will hit, and the fix
The image is grainy. That is light, not the camera. Add a key light or move closer to a window.
The focus keeps hunting. Lock it manually, or brighten the room so the autofocus has contrast to lock onto.
The colors are orange or blue. Mixed lighting. Match your sources or block one of them, then set white balance manually.
The camera vanishes in OBS after the machine sleeps. That is usually USB power management. Turn off selective suspend for the port, and plug the camera into the machine rather than an unpowered hub.
Everything looks washed out and gray. Color range mismatch between the camera and OBS. Set both to the same range.
You look like a witness sketch. Camera below eye level, one overhead light, tiny sensor. Fix the height first, then the light.
Why not just buy a 4K camera instead
If you need 4K for cropping in post, or a genuinely larger sensor for a dim room, the C920 is not the camera for you, and buying up the ladder is the right call. That is a different tier with a different budget, and it is a different article.
What I will not do is recommend any camera that claims 4K under $100, because that is a 1080p sensor with a sticker on it. Resolution is not the problem you are trying to solve. Light and framing are, and both of those cost less than the upgrade.
What this setup costs
The shape of the budget matters more than the numbers. The camera is one line item. The light is the next one, and it is the line item people skip. The room, if you are building one, is the biggest line of all.
Spend in that order. Camera, then light, then room. Buying the most expensive camera you can afford and lighting it with the ceiling bulb is the most common and most expensive mistake in this hobby, because the camera will faithfully record how bad the light is. Check current Amazon price on the camera and the book, do the math on what you already own, and start with the light you have.
The short version
Put the camera at eye level. Put a light in front of you and slightly above. Take exposure and white balance off auto, lock the focus, and give yourself some depth behind the chair. Then set the same resolution in OBS that the camera outputs so nothing gets rescaled on the way in.
That is the whole job, and it is the difference between a camera that looks like a webcam and a camera that looks like you. The hardware was never the hard part.