Most webcam setup for streaming advice starts in the wrong place, which is a shopping cart. The camera matters, but it is third on the list. Position is first, light is second, and everything after that is software.
I have watched people spend serious money on a camera and still look like a witness sketch, because the lens was sitting at chin height with a bright window directly behind their head. I have also watched a cheap camera in a well lit room look better than a flagship in a cave. That is not a knock on good hardware. It is just the order of operations, and almost nobody follows it.
This guide walks through that order, then shows the two cameras I point people at depending on which end of the budget they live on.
Why you should trust me
I have been streaming and producing video for eight years, first on Twitch and now on corporate shoots and a weekly podcast that runs on camera. I have run more webcams through my desk than I can count, from the ones that started it all to the 4K flagships to the cheap specials that make everyone look like a police sketch.
What I care about is not the sticker on the box. It is whether the thing works in OBS without a driver fight, whether it holds up in the lighting I actually have instead of a studio I do not have, and whether it makes a real person look like themselves on a Tuesday night stream. That is the test every camera has to pass before I recommend it to anyone.
How I picked and how I tested
The checklist I run on every camera is short and it is not about resolution marketing:
- Does it show up as a standard video device, so OBS and Zoom and Meet all see it without installing anything?
- Can I control exposure and white balance, or does the camera decide for me and pump every time I move?
- Does it hold focus, or does it hunt the moment I lean back in the chair?
- Does the field of view fit a desk setup, or am I cropping half the frame away?
- Does it survive a two hour session without drifting, dropping frames, or needing a reboot?
The two cameras below sit at opposite ends of that checklist. One is the "it just works and it costs almost nothing" end. The other is the "it does things for you" end. Both are here because they solve the setup problem in different ways, not because one is better than the other in every room.
The two cameras worth starting with
Everything below assumes you have already done the positioning and lighting work, which comes later in this article. Read the camera sections, then go do the steps in order. The steps are the part that changes your stream tonight.
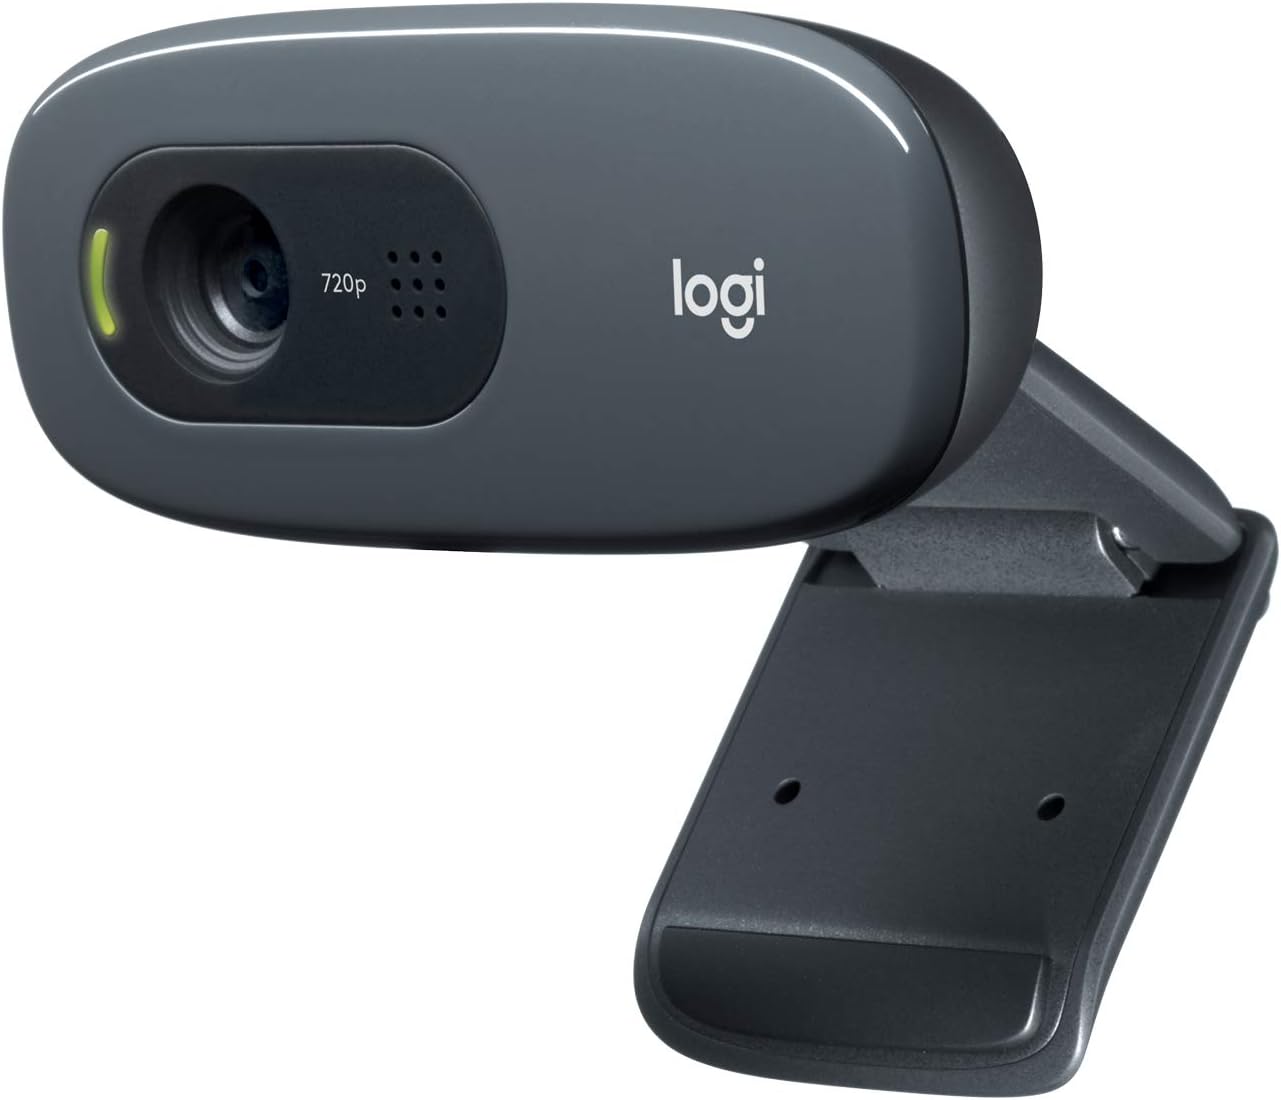
Budget pick: Logitech C270 720p Webcam Plug-and-Play Wide Screen Video Calling - Black
 Visit on Amazon →
The C270 is the camera I hand to people who are not sure they want to be on camera yet. It is plug-and-play in the literal sense: you plug it into a USB port, the operating system recognizes it, and it appears in OBS as a plain video device. No utility, no account, no firmware dance. That alone puts it ahead of a lot of hardware that costs more.
The wide field of view is the other thing worth calling out. It sees a good chunk of the desk, which is genuinely useful if you are showing a keyboard, a sketch pad, or a second person sitting next to you for a co-stream. It is also a camera you can hand to a family member for video calls and never think about again.
The honest limitation is the 720p resolution. For video calls, casual streams, and anything where your face is a small part of the frame, that is fine. For a channel where you are the product and people are watching you talk for three hours, you will notice the softness, especially if your platform is compressing the video again on the way out. That is the trade you are making, and it is a fair one at the price. Check current Amazon price before you decide.
Flaws but not dealbreakers: 720p is the ceiling, so do not expect crisp text on a whiteboard or fine detail in a face close-up. The built-in mic is a backup plan, not a purchase reason. If audio matters to you, and it should, plan on a separate mic.
Anyone on a first stream, a tight budget, or a desk that needs a camera for calls more than content will be happy here.
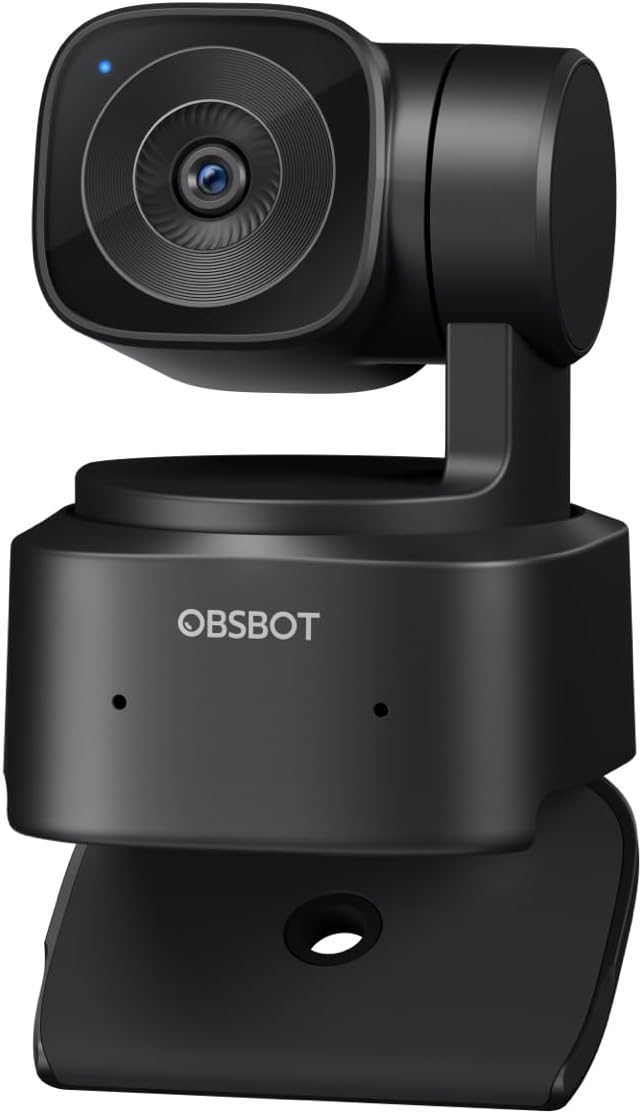
Upgrade pick: OBSBOT Tiny SE 1080P 100FPS Webcam for PC, AI Tracking PTZ Streaming Camera
 Visit on Amazon →
The Tiny SE is the other philosophy entirely. It is a 1080p camera with a 100FPS mode and a PTZ head, which means it can pan, tilt, and zoom on its own using AI tracking. Instead of you sitting in one spot and hoping the frame is right, the camera follows you.
Where that matters: demo streams where you stand up and walk to a whiteboard, cooking and craft streams where your hands move around the frame, or any setup where you present rather than sit. The tracking keeps you in frame without a camera operator, and the PTZ head means you can set a home position and let it work. The 100FPS capability gives you headroom for smoother motion and for cropping into the frame in software if you want a tighter shot without losing quality.
The caveat is the same one I give about every tracking camera: for a seated talking head podcast, turn the tracking off. A camera that drifts to follow your hand gestures while you are mid-sentence is distracting in a way that viewers feel even if they cannot name it. Lock it to a fixed position for conversation, enable tracking for movement. Check current Amazon price, because this is the camera you buy when the budget pick has already proven you will stick with streaming.
Flaws but not dealbreakers: A motorized head is one more thing to set up, and one more thing that can be pointed the wrong way if you bump the desk. Take two minutes to set a home position you like. Also, this class of camera usually leans on its own software for the advanced features, so budget a little setup time on day one instead of five minutes before you go live.
Anyone who presents, demonstrates, moves around a set, or wants a camera that will still be good after they upgrade their lighting should look here first.
The actual setup workflow
Now the part that matters more than either camera. This works with any webcam, including the one built into a laptop.
Step one: Get the lens to eye level. A tripod, a monitor arm, or a stack of books, it does not matter. A lens below eye level looks up your nose and flattens your jaw. A lens above eye level makes you look small. Eye level, pointed at your face, is the shot.
Step two: Light your face, not the wall. Put your key light or a window in front of you and slightly off to one side. If you only do one thing from this entire article, do this one. A cheap camera in good light beats a good camera in bad light every single time.
Step three: Kill the backlight. If there is a bright window behind you, close the blinds or move the desk. A camera exposes for the brightest thing in the frame, and if that is the window, you become a silhouette. Overhead lights directly above you also count, because they cast shadows under your eyes and nose.
Step four: Set exposure manually and lock it. Auto exposure pumps brighter and darker as you move and as clouds pass. If your camera utility or the OBS video properties let you turn auto exposure off, do it and set the level by eye. If it does not, sit still and keep the background from changing brightness.
Step five: Deal with focus. Cameras with fixed focus have a sweet spot at a set distance, so measure it by leaning in and out until your face is sharp, then keep your chair there. Cameras with autofocus should be locked for a seated stream, because autofocus hunting is the number one thing that makes a talking head look amateur.
Step six: Set white balance and leave it. Do not mix cool window light with warm room light on the same face. Pick one source, let the camera settle, then lock white balance. Half orange and half blue is the giveaway that nobody touched the settings.
Step seven: Fix your field of view. A wide angle suits desk work and two people. A tighter angle suits a solo face shot. Move the camera physically rather than cropping in software, because digital zoom throws away resolution you paid for.
Step eight: Match your OBS settings to reality. Set the source to the camera's native resolution and a frame rate the camera actually supports, then pick the encoder that fits your machine instead of the one with the best name. If the camera shows up as a standard video device, you are done in thirty seconds. If it demands proprietary software before OBS can see it, that is a camera problem, not an OBS problem.
Step nine: Test at the worst time of day. Streams happen at night. Set everything up at night, in the light you will actually have, and look at the preview on a phone as well as the monitor. The phone is what most of your audience is watching on anyway.
The competition and why it lost
There are plenty of cameras in this category that are not in this guide, and that is deliberate. The Logitech Brio and the Elgato Facecam and the Razer Kiyo Pro and the Insta360 Link all do specific things well for specific people, and they show up in other articles on this site where they fit the budget and the job.
They are not here because this article is about the order of operations, not about a shopping list. If you have not fixed your camera height and your key light yet, a more expensive camera will not save the shot. Spend the money after the free fixes, not before.
What this all costs
The two cameras sit at opposite ends of the price spectrum, and the difference between them is mostly about what the camera does for you versus what you do for it. Check current Amazon price on each one before you decide, because that number moves.
The rest of the list costs nothing. Eye level costs a stack of books. Front light costs a window or a lamp you already own. Locking exposure, white balance, and focus costs ten minutes in a settings menu. Getting the camera into OBS as a standard video device costs whatever the camera costs, and nothing more.
That is the whole trick. A webcam setup for streaming is a lighting and positioning project with a camera attached. Do the free part first, see how far it gets you, and then decide whether you are buying the plug-and-play budget option or the tracking upgrade. Either way, your face will look like your face, and that is the only test that matters.