Most webcams fail on a stream for reasons that have nothing to do with the camera. Walk through any office and you'll find a 4K flagship pointed at a window with the person's face in shadow, or a cheap 1080p unit angled up at a chin while a ceiling light burns a halo into the frame. The camera is rarely the problem.
A webcam setup for streaming that actually looks like you comes down to three decisions: what sensor you buy, where the light comes from, and whether the camera shows up in OBS without a driver fight. Get those right and a budget camera embarrasses a flagship. Get them wrong and you've bought a paperweight with a lens.
I've been streaming and shooting corporate video out of Austin for eight years, from late-night Twitch marathons to client interviews that had to look like a two-person crew shot them. I've cycled more webcams through this desk than I can count. Here's the order I'd do things in, whether you're spending about the price of a pizza or the price of a used lens.
Why you should trust me
Eight years of running a weekly podcast on camera and building streaming setups for other people teaches you what the spec sheet hides. I've watched a decade of "4K Ultra HD" stickers get peeled off 1080p sensors. I don't recommend a camera without checking the actual sensor size. I don't believe a low-light claim until I've seen it in a dim room. I don't trust a camera that needs a proprietary app to change exposure.
My whole worldview fits in one line: the sensor is the camera, and lighting beats hardware. A $200 webcam in bad light loses to a $60 webcam in good light every single time. If it doesn't work in OBS without a driver fight, it's a toy.
How I picked and how I tested
This isn't a list of every webcam on the market. It's two cameras at two honest price points, plus the workflow that makes either one look good.
Every camera I look at gets the same three checks. First, sensor size. A 1/2" sensor captures meaningfully more light than the tiny chips in most webcams, which is why it holds up in a dim room where the cheap ones go grainy. Second, autofocus behavior. Autofocus is a feature right up until it hunts mid-sentence, and the best cameras let you lock it. Third, whether it works in OBS as a standard video capture device without installing a driver or fighting a control panel.
Then there's field of view. Ninety degrees is a desk camera: it shows your room, your chair, and whatever is behind you. Sixty-five degrees is a solo face shot. If your camera has a fixed wide lens and your room is a mess, you'll be shopping for a backdrop next.
The specs I care about most are the boring ones. Sensor size, exposure control, and a frame rate that holds steady. Everything else on the box is marketing.
The two webcams I'd put on a desk
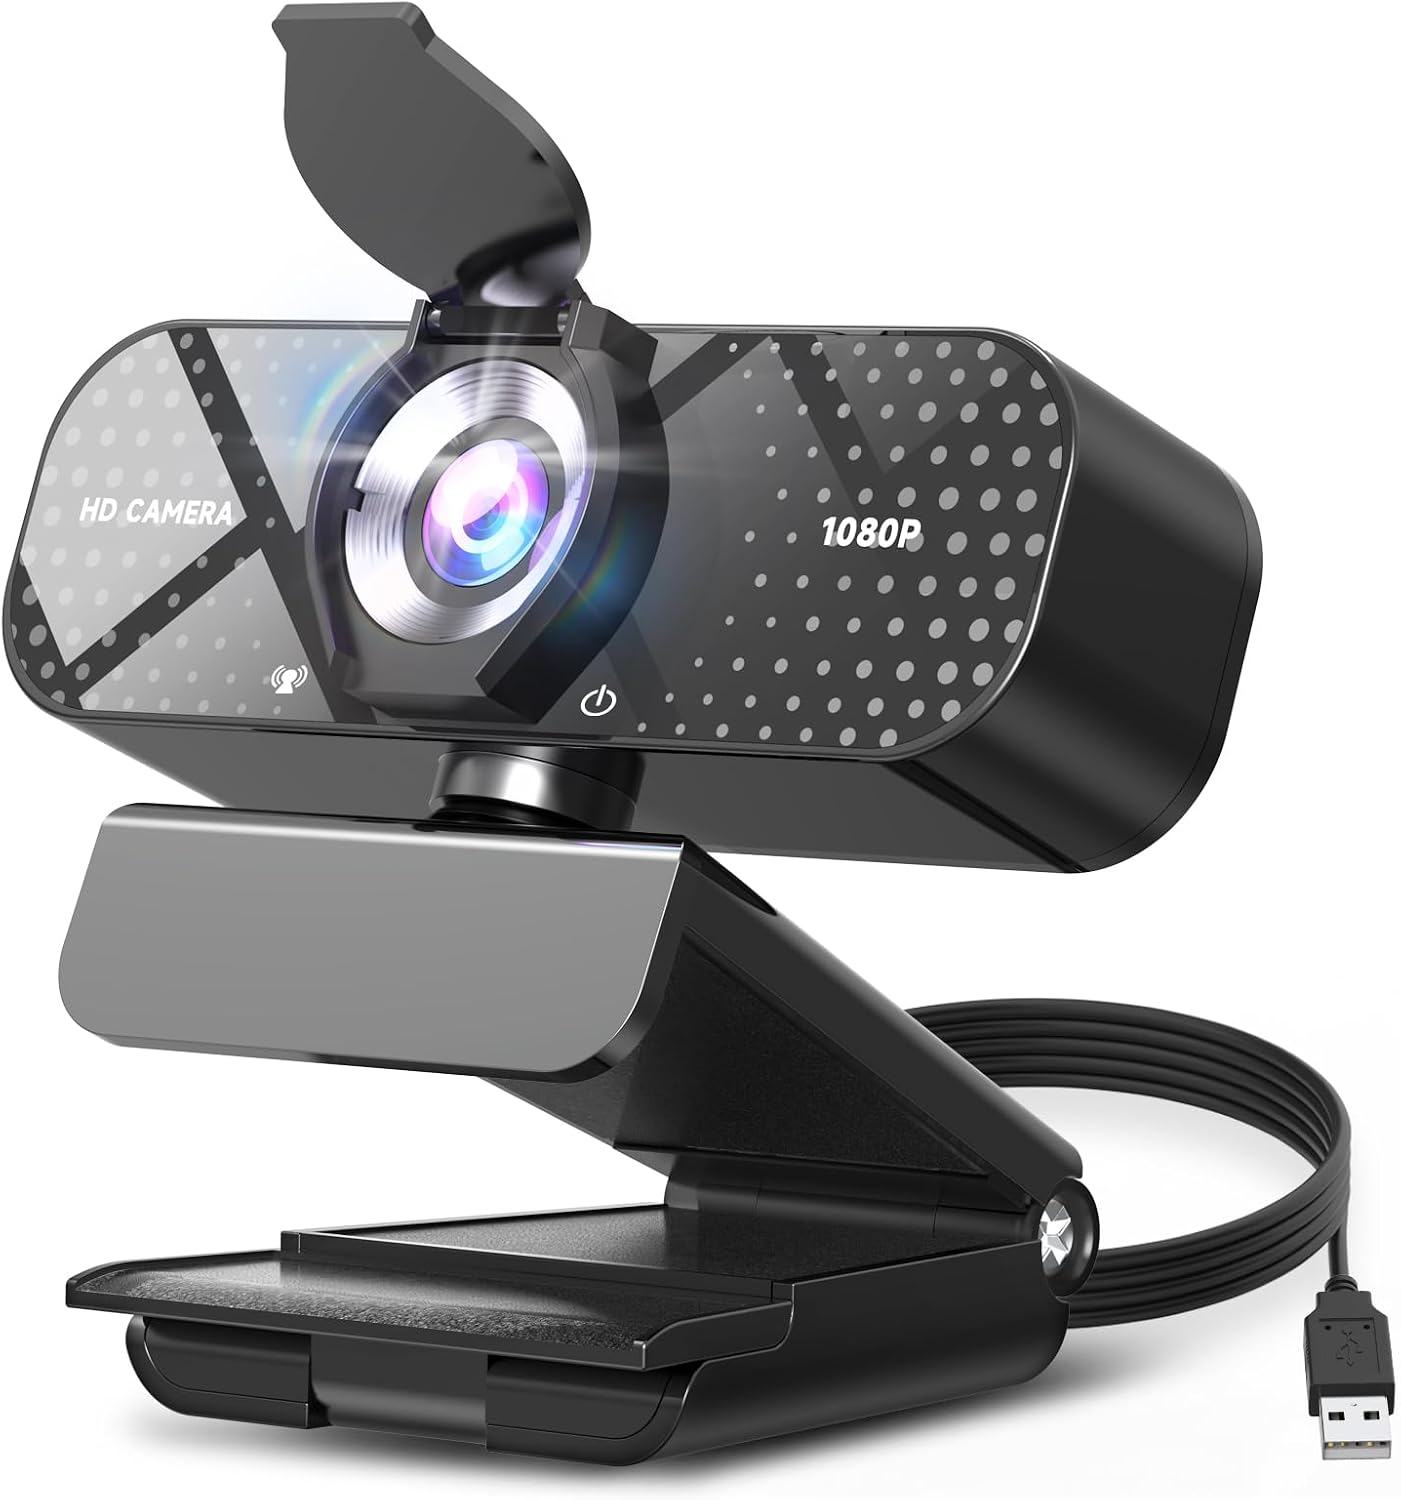
Budget pick: TRAUSI 1080P FHD Webcam with Noise-Canceling Mic, Auto Light Correction, Privacy Cover and Wide Angle Lens, Plug & Play USB Camera for Laptop/Desktop/PC/Mac, Compatible with Zoom/Teams/Streaming
 Visit on Amazon →
Check current Amazon price and you're in impulse-buy territory, which is exactly where a first camera belongs. This one is 1080p with a noise-canceling mic, auto light correction, a privacy cover, and a wide angle lens. Plug and play means it works in Zoom, Teams, and OBS without an install.
What I like about this class of camera is the honesty of it. Nobody is selling you a fantasy sensor. You get 1080p, which is what Twitch, Zoom, and Teams deliver anyway, and the wide lens means you can sit back from the desk and still be in frame instead of leaning into a laptop lid.
The auto light correction is doing real work in a room with one window, but it's also the thing to watch. In a dark room it will push gain to keep your face visible, and gain means noise. Give it some light and it behaves.
The privacy cover is a physical shutter, which I prefer to a software toggle, and the wide lens makes it a genuinely good fit for a shared desk or a small office where you can't sit at a fixed distance.
Flaws but not dealbreakers: The mic is a backup plan, not a solution. It'll get you through a call. It won't carry a podcast. And a wide angle lens shows more of your room than you think, so check the frame before you go live.
Anyone starting a channel, joining a lot of calls, or buying a first camera for a kid's setup should start here.
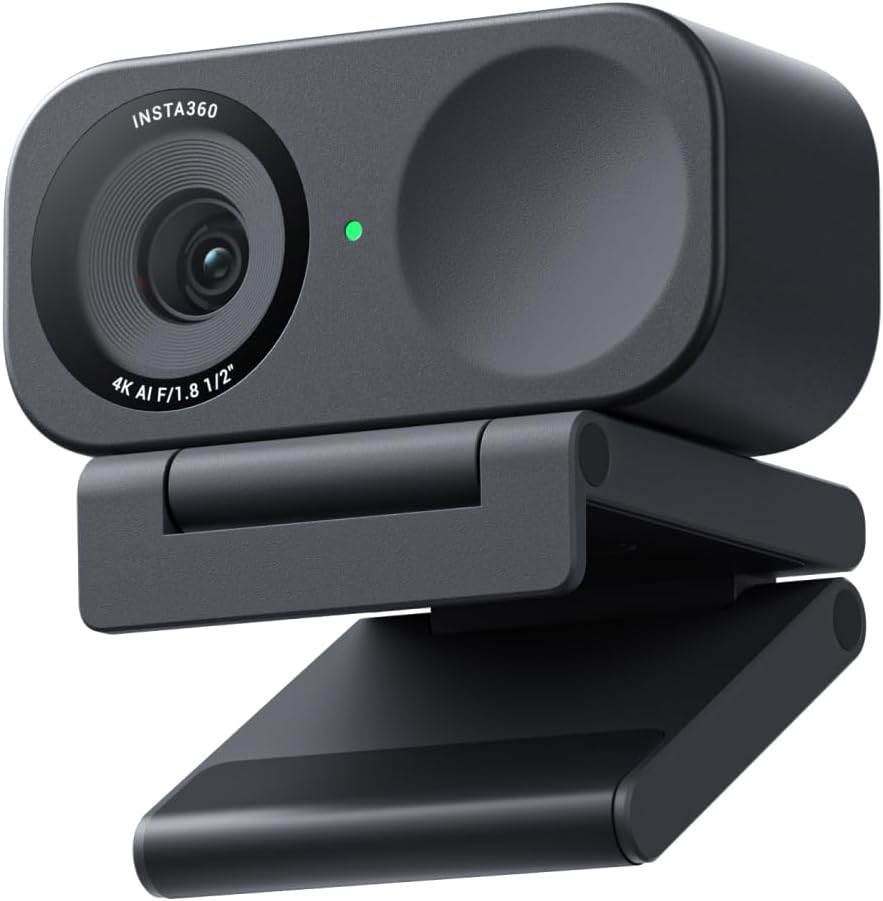
Upgrade pick: Insta360 Link 2C - 4K Webcam for PC/Mac, 1/2" Sensor, Auto Framing, HDR, AI Noise-Canceling Mic, Gesture Control for Streaming, Video Calls, Gaming, Works with Zoom, Teams, Twitch & More
 Visit on Amazon →
Check current Amazon price and you're paying for the sensor, not the sticker. That 1/2" sensor is the reason this camera is on the list at all. Bigger sensor, more light captured, cleaner image when the room isn't bright. HDR keeps detail in your face when there's a window behind you, which is the single most common lighting problem I see on streams.
The 4K resolution is the part people get excited about and the part that matters least for most streams. Where 4K earns its keep is cropping. You can shoot wide and punch in for a tighter frame without losing detail, which is handy if you run a two-camera setup or you like a slow push-in on a talking head.
Auto framing and gesture control are what separate it from a plain webcam, and both come with a caveat. Auto framing reframes as you move, which is great for a demo or a whiteboard and distracting for a podcast where you sit still. Gesture control is genuinely useful when you're presenting and can't touch the keyboard, and useless if you never present. The AI noise-canceling mic is better than most built-in mics, but it's still a webcam mic.
Flaws but not dealbreakers: You'll want the companion software for exposure, framing, and gestures, and if you hate installing vendor apps, budget for that annoyance. Also, this camera is not subtle on a small monitor.
Anyone who presents, streams, or takes calls all day and wants the camera to stop being the weak link should look here.
How to set up a webcam for streaming
Now the part that matters more than the purchase.
Step one: get the camera to eye level. A laptop camera looks up your nose. A webcam on a shelf looks down at your forehead. Put the lens at eye level or a hair above. Tripod, monitor mount, stack of books, I don't care. This one change does more for how you look than any resolution bump.
Step two: light your face before you touch a setting. Put a light source in front of you, not behind you and not directly overhead. A window works if it's in front of your face. A cheap ring light works. Overhead ceiling light alone puts shadows under your eyes and makes everyone look tired.
Step three: set your frame. Sit where you'll actually sit, then look at the preview and adjust. Chest to just above the head is the standard for a talking head. Leave a little headroom and keep your eyes about a third of the way down from the top. If your camera has a wide fixed lens, move closer rather than zooming in software, because software zoom is just cropping and throwing away pixels.
Step four: lock exposure and white balance if you can. Auto exposure hunts every time you move or the light shifts. Manual control means you set it once in your actual lighting and it stops moving. If your camera only offers auto, make sure the light on you doesn't change during a session, because every change will send the exposure hunting.
Step five: deal with autofocus. If your camera hunts during a talking-head stream, switch to a fixed focus distance or manual focus. The Insta360 Link 2C's autofocus is competent, but if you sit still for an hour, lock it and forget it. Hunting focus is the number one webcam annoyance for a reason.
Step six: pick 1080p30 unless you have a reason for more. Twitch, YouTube, and most video calls deliver 1080p. If your upload can't carry 4K, streaming it just means the platform compresses it for you. Shoot 4K when you're recording locally or cropping in, and 1080p when you're going live.
Step seven: add the camera in OBS as a video capture device. Don't install a vendor app and assume OBS will find it. Add a Video Capture Device source, pick the camera by name, then set resolution and frame rate in the source properties. If the image is soft or the frame rate stutters, that's usually the USB bus or a wrong resolution setting, not the camera.
Step eight: handle audio separately. Your webcam mic is a backup plan. A modest dynamic mic on a boom arm will beat any webcam mic for a podcast, and it solves the fan noise problem, because a mic on your desk hears your PC and a mic near your mouth doesn't.
Step nine: record five minutes and watch it back. This is the step everyone skips. Record yourself talking, then watch it on the same screen you stream from. Look for focus hunting, blown highlights on your forehead, and whether the background is doing anything embarrassing. Fix those three things and you're ahead of most streams.
What I'd skip and why
Skip any camera advertising 4K under about $100. That's a 1080p sensor with a sticker on the box, and the "4K" is either interpolated or it means the marketing team won. If the listing doesn't tell you the sensor size, that's your answer.
Skip the phone-as-webcam route if you stream regularly. It can look great, but it's a second device to charge, a cable to route, and one more app that can drop the connection mid-stream. Fine as an emergency backup, annoying as a daily driver.
Skip buying a camera before you fix your light. A $150 camera in a dark room looks like a $40 camera. A $40 camera with a $40 light looks like a camera you paid for.
What this all costs
The budget camera sits in the impulse-buy range, and the upgrade costs several times as much. The rest of the setup is where people either save money or waste it. A light in front of your face is the highest-value purchase in this entire guide, and you can start with a window. A mic on a boom arm is second. A camera is third.
Do the math in that order and you'll spend less and look better than the person who bought the most expensive webcam on the shelf and pointed it at a window. Set the frame, light the face, lock the exposure, and let the camera do the one job it's good at.
That's the job. Your camera was never the problem. Treat it as the last ten percent and it'll finally look like the whole thing.