Most people buy a webcam, plug it in, and then spend six months wondering why they look like a witness sketch on their own stream. I understand the impulse. The camera is the part you can buy, so it feels like the part that fixes the problem.
It usually is not. A good webcam setup for streaming is mostly about the room: where the light comes from, how high the lens sits, and whether the camera is fighting you with auto everything. I have been streaming and shooting corporate video for eight years, first on Twitch and now on a weekly podcast that runs entirely on camera, and the pattern never changes. The people who look good did not spend the most money. They set things up in the right order.
So this is that order. Two cameras worth building around, one workflow that works in OBS, and the settings that stop your webcam from undoing your face.
Why you should trust me
I am Alex, I stream out of Austin, Texas, and I have been on camera professionally for eight years. I started on the webcam that everybody started on, the old 1080p workhorse that refuses to die, and I have since run everything from budget units to current 4K flagships through the same desk, the same lighting, and the same OBS scene collection.
That last part matters. I do not test a camera in a bright studio and call it a day. Every camera I recommend gets run in my actual setup: a room with a window on one side, a cheap ring light I have owned for years on the other, a ceiling fan that hums, and a podcast that runs long enough for any autofocus flaw to show up. I have returned more webcams than I have kept, and the returns were almost always for the same two reasons. The autofocus hunted during a long take, or the camera needed proprietary software to change settings I should be able to change anywhere.
My bias is simple. The sensor is the camera. Lighting beats hardware. And if it does not work in OBS without a driver fight, it is a toy.
How I picked the two cameras here
I picked these two because they sit at the two ends of the decision most people are actually making, and because both of them clear the basic bar: they work as plain USB cameras, they behave in OBS, and they do not force you into a vendor app just to change your framing.
The questions I asked were the ones that matter after the unboxing:
What are you shooting? A talking head in one seat is a different job than a wide desk shot with a keyboard, a second monitor, and a whiteboard behind you.
Does it survive your lighting? A camera that looks clean in a bright room can fall apart in a dim one. If your only light is the monitor in front of you, that is the test that counts.
Does the autofocus hold? The best webcams let you lock focus. The worst ones breathe in and out while you are mid-sentence.
Does it play nice with OBS? If I cannot drop it in as a video capture source and control exposure and white balance, I lose interest fast.
One camera here is the sensible 1080p starting point. The other is the 4K option for people who crop, zoom, or want detail in a wide shot. Both are on this list because they are the right tool for a specific person, not because they are the most expensive thing on the shelf.
The two cameras worth building a setup around
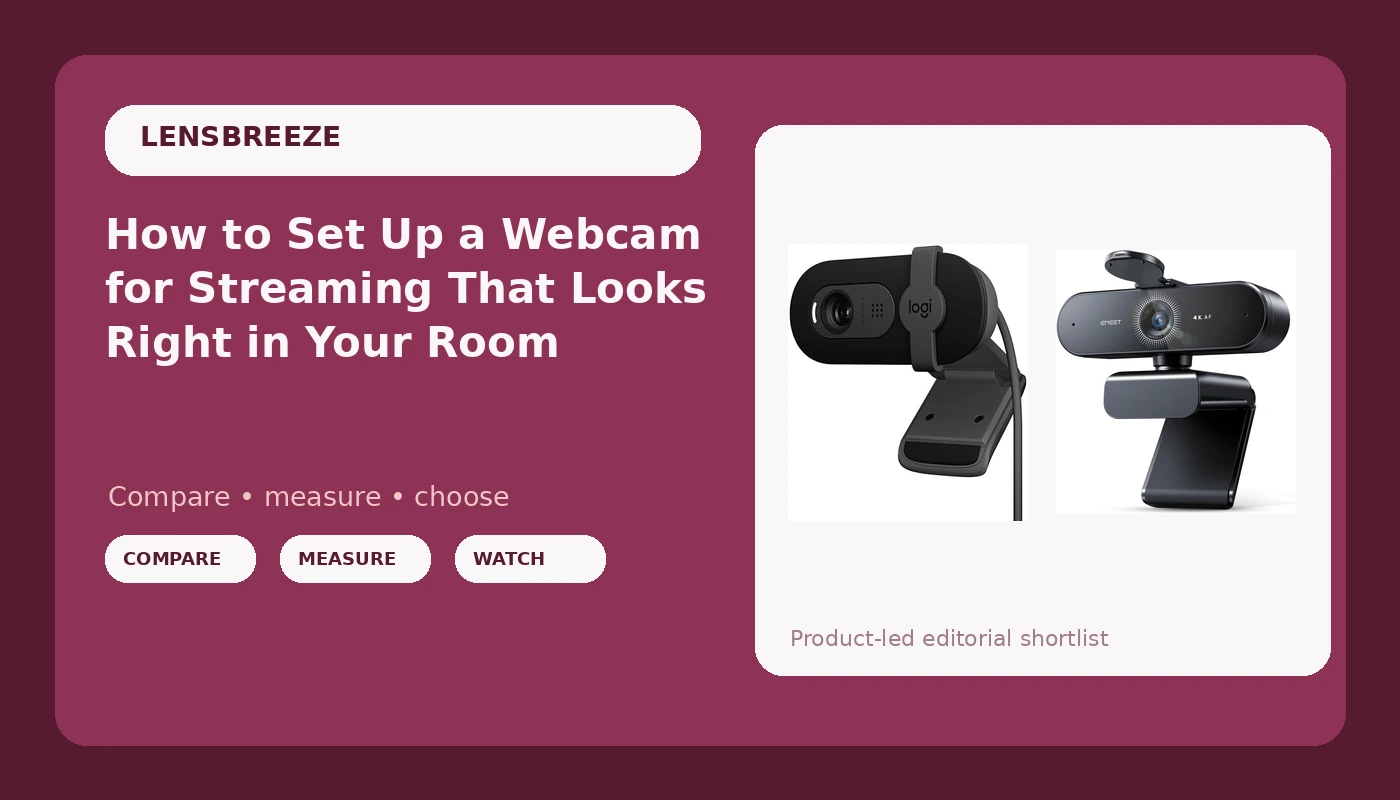
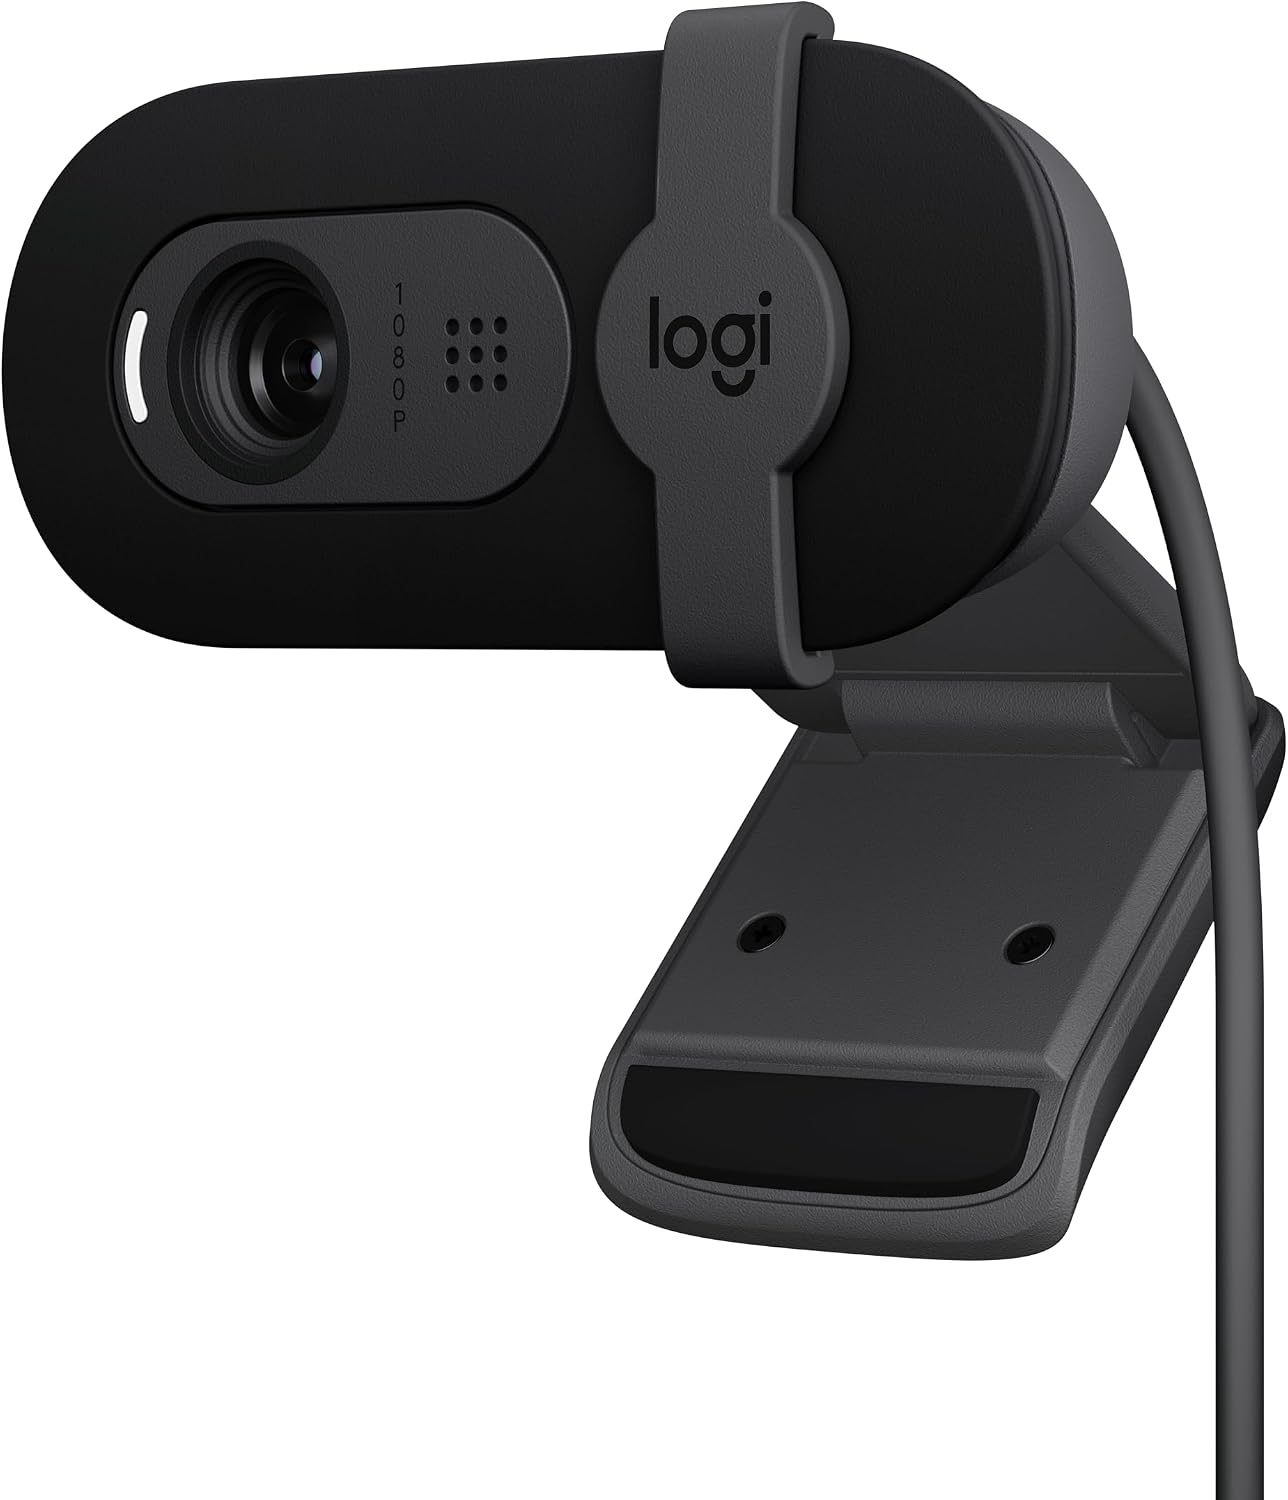
Budget pick: Logitech Brio 101 Full HD 1080p Webcam for Streaming and Meetings - Black
 Visit on Amazon →
This is the camera I hand to someone who is starting a channel, joining a hundred meetings a week, or just wants their face to stop looking like a security camera feed. It is a 1080p camera, and it is honest about being one. No 4K sticker, no marketing math.
For streaming, 1080p is still the right answer for most people. Twitch, YouTube, and every meeting platform you use will compress the life out of a 4K feed anyway, and a clean 1080p source with good light will beat a noisy 4K source every single time. If your output is 1080p, a 1080p camera means no scaling guesswork and no wasted bandwidth.
The practical reasons to start here: it is simple, it mounts on a monitor or a tripod without drama, and it does not demand a software suite to function. That last point is not small. Cameras that hide basic controls in a proprietary app are the ones that break your scene the night before a stream.
Flaws but not dealbreakers: This is a small-sensor camera, and small sensors need light. Put it in a dim room with nothing but monitor glow and you will see grain, because every camera at this level will do the same thing. Fix the light before you blame the camera.
Anyone streaming at 1080p, running meetings all day, or buying their first webcam and wanting zero fuss should start here.
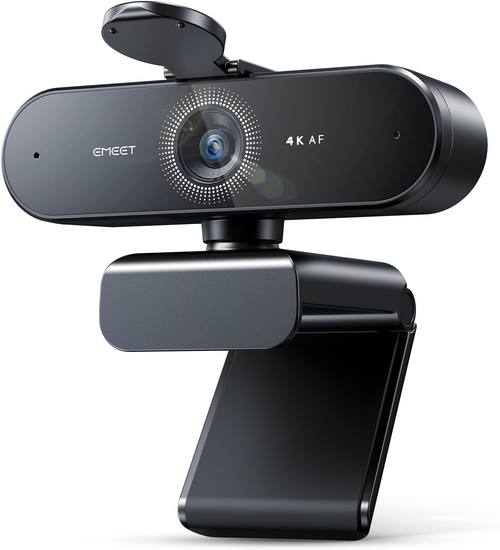
The 4K pick: EMEET NOVA 4K Webcam for PC, Ultra 4K HD, PDAF Autofocus, Dual Omni Mics
 Visit on Amazon →
This is the one for people whose setup has outgrown 1080p. The headline feature list includes 4K capture, PDAF autofocus, and dual omni mics, and each of those matters for a different reason.
4K is not about streaming at 4K. It is about having room to crop. If you shoot a wide desk shot and then punch in for a close-up in OBS, a 4K source gives you a clean 1080p crop. A 1080p source does not, because cropping it means throwing away pixels you do not have. If you use a green screen, do product shots on camera, or want to frame wide and zoom in post, the extra resolution earns its keep.
PDAF autofocus is the spec I care about most here. Phase detection is the faster, more decisive kind of autofocus, and it is the difference between a camera that locks onto your face and one that hunts while you talk. That said, my rule still stands: if the camera lets you lock focus, lock it. Autofocus is a feature right up until it starts breathing during a long take.
The dual omni mics are a genuine convenience for meetings, and I will say the same thing I say about every webcam mic. Treat it as a backup plan, not your audio chain. The camera is the purchase. A separate mic is the upgrade.
Flaws but not dealbreakers: 4K is hungry. It wants light and it wants USB bandwidth, so if you are on a hub with three other devices, plug the camera directly into the machine. And if you stream at 1080p with no cropping, you are paying for pixels you will never use.
Anyone who crops, zooms, runs a green screen, or wants a wide shot with real detail should look here first.
The actual setup workflow
Now the part you came for. Do these in order. The camera does not matter until the first five are handled.
Step one: Get the lens to eye level. Sit down, look straight ahead, and put the webcam at the height of your eyes. Not below your chin, not on the laptop lid looking up your nose. A camera below eye level makes you look down at the viewer, which reads as tired or evasive. A camera above eye level makes you look small. Eye level is neutral, and neutral is what you want.
Step two: Fix the distance and the framing. Push the camera back to arm's length plus a few inches, then frame yourself with your head near the top third of the frame and a little space above it. Head and shoulders is the default for streaming. If you want a wide desk shot, that is a different lens position and usually a different camera, which is exactly why the 4K option above exists.
Step three: Light before anything else. This is the step people skip, and it is the one that changes the most. Put your main light in front of you, slightly off to one side, and slightly above eye level. A window works if it is in front of you. A window behind you is a silhouette generator. If your only source is the monitor, you are lit from below by a screen, and no camera fixes that.
Step four: Kill the mixed color temperature. Daylight is blue. A cheap desk lamp is orange. If you have both in the same frame, one side of your face will be blue and the other orange, and no white balance setting saves it. Pick one color temperature and make everything match. This is a five dollar problem with a five dollar fix.
Step five: Take the camera off auto exposure and auto white balance. Auto exposure will brighten the whole frame the moment you lean back and a bright wall enters the shot, and your face will dim with it. Auto white balance will drift when a cloud passes. Set exposure manually so your skin sits where you want it, set white balance to match your lights, and leave both alone.
Step six: Deal with autofocus. If you sit in one seat for the whole stream, lock focus on your face and forget it. If you move around, keep autofocus on but test it. Lean back, lean in, wave a hand across the frame, and watch whether the camera hunts. If it hunts, lock it. Phase detection autofocus helps a lot here, but locked focus never breathes at all.
Step seven: Match your OBS canvas. Set your canvas to 1920x1080 and your output to the same. Drop the camera in as a video capture source and scale it to fill the frame without stretching it. If you are using a 4K camera and cropping in, scale the source up first, then crop, so you are working from the most pixels you have.
Step eight: Add color correction last. A small amount goes a long way. Nudge saturation up slightly, pull the blacks down a touch, and stop. If you find yourself building a filter chain, you are compensating for bad light, and step three is still waiting for you.
Step nine: Test with a recording, not a preview. Hit record, talk for two minutes, walk away, and watch it back on a phone. The preview window lies. A recording shows you the grain, the hunting, and the framing problems you stopped noticing after ten minutes of staring at yourself.
What to skip
Skip any camera whose box leads with a resolution number and says nothing about the sensor or the autofocus. Resolution is the cheapest spec to print and the least useful one on its own.
Skip anything that requires proprietary software to change basic settings. If the camera will not let you set exposure and white balance in the software you already stream with, you will fight it every time you change rooms.
Skip the idea that the webcam mic is your audio plan. Every webcam mic is a backup plan, including the good ones. Your viewers will forgive soft video long before they forgive bad audio.
And skip buying a camera to fix a lighting problem. A mid-range camera in good light beats a flagship in bad light, every time, and I will say that until I am hoarse.
What this all costs
Both cameras above are listed at Check current Amazon price, and the gap between the 1080p option and the 4K option is the gap between "my face looks fine" and "I have room to crop and zoom." The rest of the setup is either free or already in your house: a window, a lamp, a tripod you own, and OBS.
That is the whole point. The camera is one line item. The order you do things in is free, and it is worth more than the difference between the two cameras.
Do the light, do the height, lock the settings, record a test, and then decide whether you still need the upgrade. Most people find out they did not need it. The ones who do need it usually find out because they started cropping, and that is a good problem to have.
Your camera was built to do this. Give it a room worth shooting in.