Design-build work has a presentation problem. You spend six weeks on a proposal, and then the moment of truth happens on a video call where the client is looking at a face lit by whatever ceiling fixture the office came with. The drawing set on your screen is sharp. You are not.
I have been producing video for eight years, first on Twitch and now on corporate work out of Austin, and the pattern never changes. Teams buy a camera, plug it in, and assume the hard part is over. Then the autofocus hunts during the walkthrough, the window behind them blows out the exposure, and the client spends the meeting looking at a silhouette with a voice.
A good webcam setup for project presentations is not a shopping problem. It is a placement and light problem, plus a camera that does not fight you. This guide walks through the exact order I do it in: camera choice, position, light, exposure, framing, audio, and the software pass that makes the whole thing repeatable next week without thinking about it.
Why you should trust me
I have run a weekly podcast on camera for years and shot corporate video in Austin since well before the pandemic. I have used more webcams than I can count, from the old C920 that started it all to the 4K flagships to the cheap specials that make everyone look like a witness sketch. I have strong opinions about sensor size and about how much of the box copy is marketing rather than hardware.
What I do not do is recommend a camera without checking it against real light. The rules in my studio are simple. The sensor is the camera, and 4K on a tiny chip is a sticker. Lighting beats hardware, every time, and a midrange camera in good light beats a flagship in a cave. If a device needs a driver fight before it works in OBS, it is a toy. Everything below follows those rules.
How I picked and how I tested
I judge a camera for this job on four things, in this order: how it handles mixed light, whether the focus stays locked on a person who moves, whether it shows up in OBS without a proprietary driver ritual, and how it behaves when the room gets dim. Resolution is fifth. A 1080p camera in decent light beats a 4K camera in a cave, because the light and the sensor are doing the work, not the number on the box.
For this guide I kept the setup to what a small design-build team actually owns: one dependable 1080p camera on the desk and one process reference on the shelf. I ran the same placement and lighting workflow I use for my own podcast, because the failure modes on a client call are identical to the failure modes on a stream. The camera below is the one I point people to when the budget is real and the job is talking to clients. The book is what I hand to the person who has to run the project after the presentation lands.
The gear that does the work
Two things carry this setup, and neither is glamorous: the camera on the desk and the process reference on the shelf. Everything else in the workflow is free or already in the room.
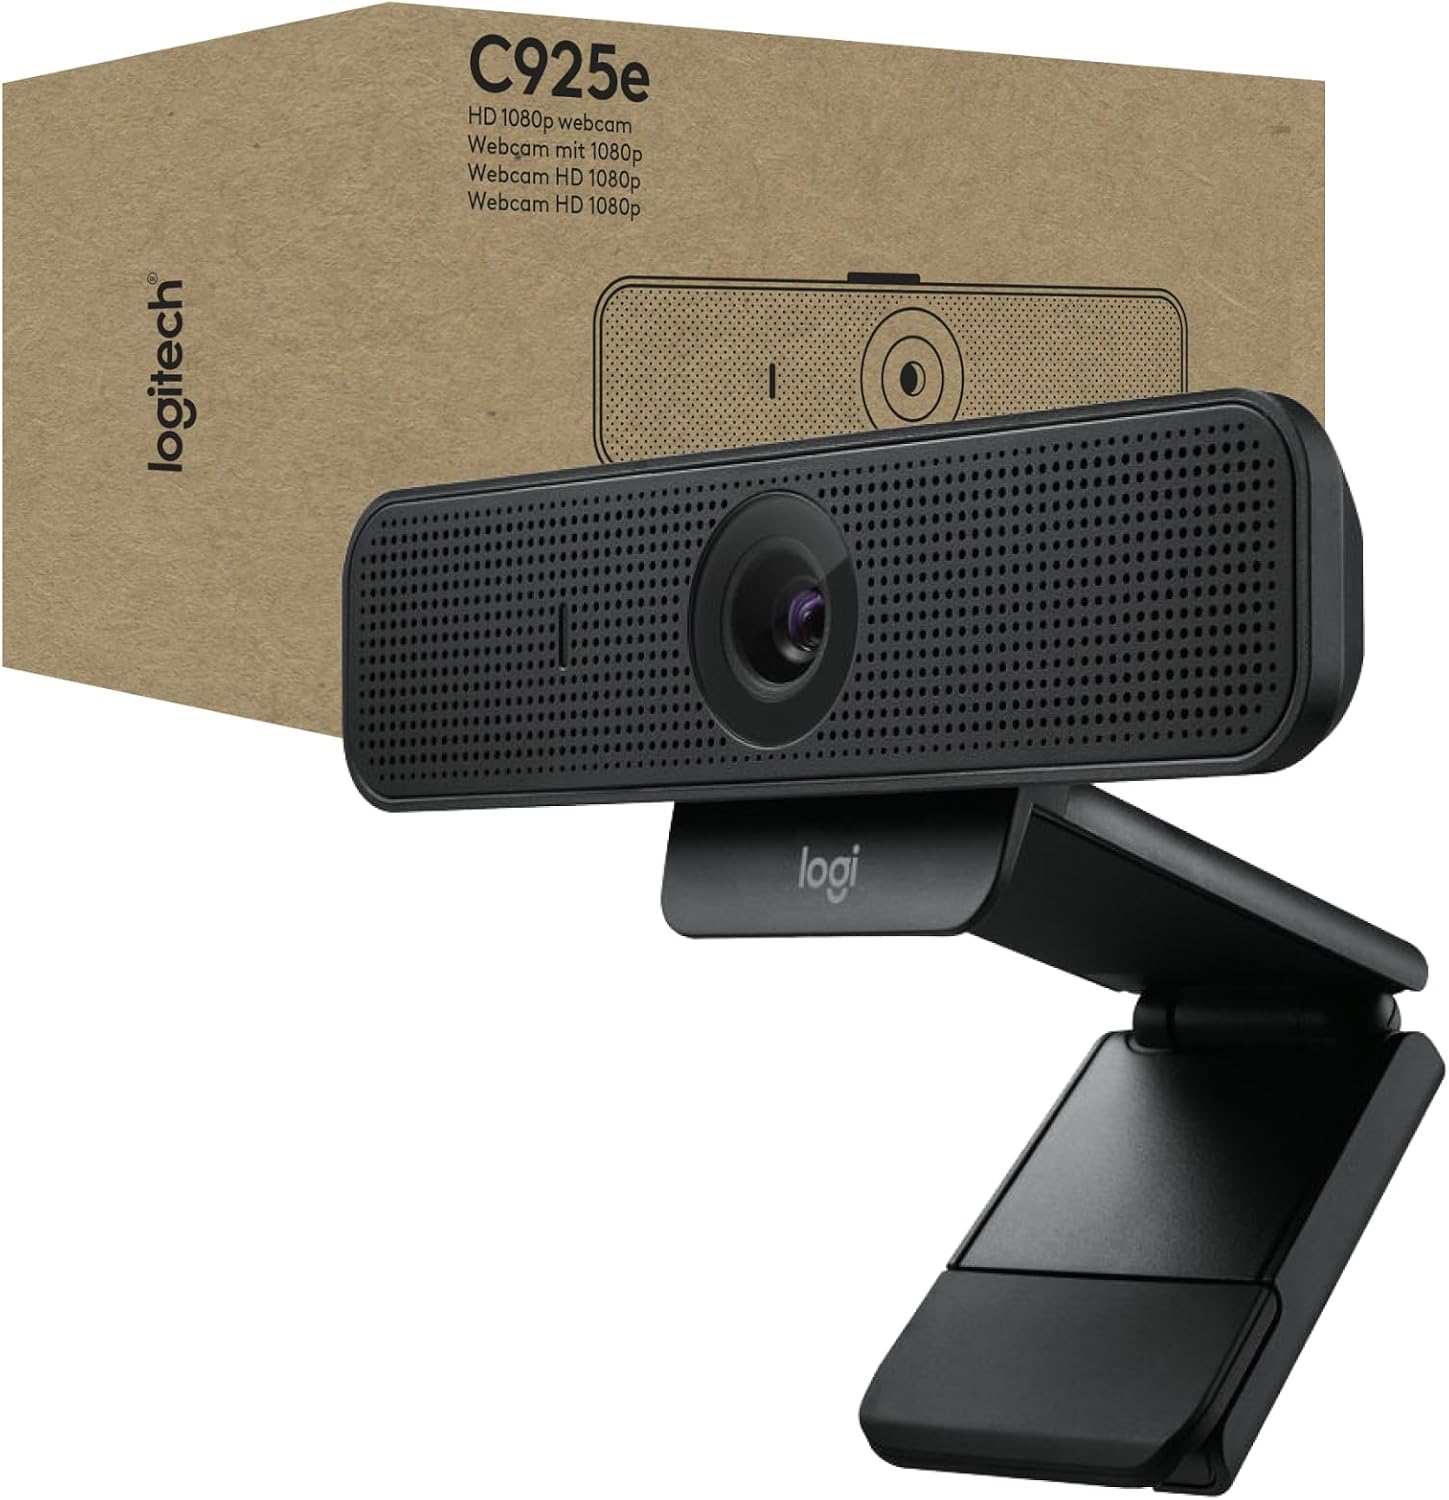
Our pick: Logitech C925-E Business Webcam HD 1080p/30fps with Light Correction
 Visit on Amazon →
The name of this camera is close to a complete spec sheet, which is exactly what you want when the job is talking to clients. 1080p at 30 frames per second is what a meeting platform actually sends, and light correction is the feature that earns its keep on a desk where the window sits behind you at three in the afternoon. A business webcam is built for a conference room full of people who will never open a settings menu, and that is a feature, not a compromise. Plug it in, let the driver install itself, and OBS sees it as a plain video source.
That is the difference between a camera you use and a camera you fight. I have watched people lose twenty minutes of a client call to a driver prompt, and I have watched them lose the client's attention while they did it. Hardware in this class does not do that to you.
What it does not do is fix a bad room. Light correction adjusts exposure so your face is not a shadow, but it cannot invent detail the sensor never captured. If your only light source is a window behind your head, you will get a very well exposed silhouette. Turn the desk around, or bring a light to the front, and it looks like a different product.
The built-in microphone is a backup plan, not a plan. It is fine for a quick internal call. For anything a client is paying for, use a separate mic close to your mouth and treat the webcam mic as the thing that saves you when the real one dies.
Flaws but not dealbreakers: This is not a streaming camera and it does not pretend to be. There is no 4K, no high frame rate, and no field-of-view trickery. If you want the low-light push of a flagship, that is a different purchase for a different job. Check current Amazon price before you commit, and read the listing carefully if you need mounting hardware, because what ships in the box varies.
Anyone who spends their day presenting drawings, schedules, and proposals on video calls will get more out of this than out of a gaming camera with a bigger number on the box.
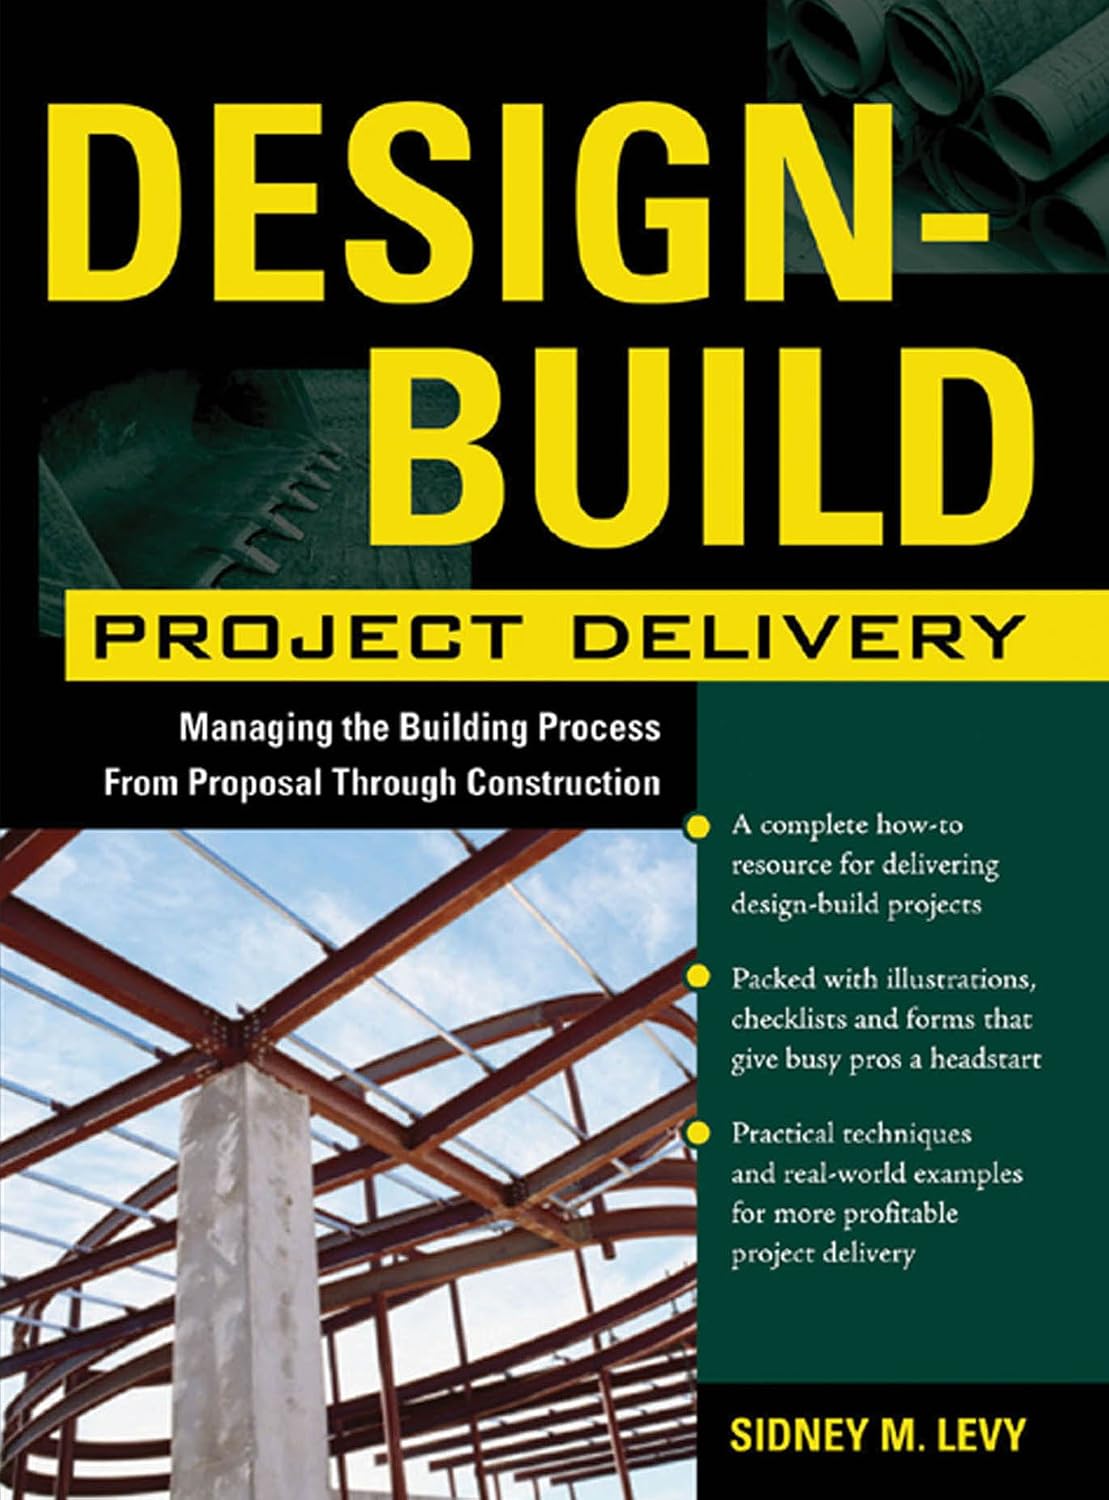
The process reference: Design-Build Project Delivery: Managing the Building Process from Proposal Through Construction
 Visit on Amazon →
Looking sharp on camera is half the job. The other half is knowing the delivery model you are presenting, and that is what this book covers. It walks the design-build process from the proposal stage through construction, which is the same stretch of a project where remote meetings do most of the heavy lifting.
Why does a project delivery book belong in a webcam guide? Because the camera gets you a seat at the table and the process is what keeps you there. The most common way a design-build presentation falls apart is not a bad image. It is a team that cannot answer a question about risk, schedule, or who owns a design change, and you can hear the room cool down over the call. This is the reference I point people to when they are the ones running the meeting and the ones who have to deliver after it.
It is a dense professional text, not a weekend read. Mark the proposal chapters and keep it on the shelf next to the desk where the camera lives, because the questions it answers tend to arrive mid-call.
Flaws but not dealbreakers: It is written for the industry, so the language is formal and the examples are institutional. If you want a light overview of design-build, this is more than you need. If you are actually managing one, it is about right. Check current Amazon price.
The actual setup workflow
Now the part you came for. This works with any camera that lets you control exposure, and most of it works even with one that does not.
Step one: Pick the desk, then pick the camera position. Put the camera at eye level, at the top of your monitor or on a stand just above it. Looking down at a laptop camera makes you look like you are reading a script, and looking up makes you look like you are being interrogated. Sit roughly an arm's length back so the framing is head and shoulders, not a passport photo.
Step two: Fix the light before you touch a single setting. Face your light source. If there is a window, sit facing it and let it do the work. If there is no window, put a lamp or a cheap ring light behind the camera so it hits your face straight on. This one step matters more than every setting in the next five steps combined, and it costs nothing if you already own a lamp.
Step three: Set exposure, then lock it. If your camera software or OBS lets you turn off auto exposure, do it, then set the brightness so your face is properly lit and the background is not blown out. If you cannot lock it, remove the bright window from the frame instead. Auto exposure is what makes you flicker every time you lean forward and the wall behind you gets brighter.
Step four: Set white balance and leave it. Match the color of your actual light. Mixed light is the reason people look orange in the face and blue in the background, and no camera fixes that for you. Set it once, lock it, and only change it if you change the bulbs.
Step five: Choose your field of view on purpose. Around 90 degrees is what you want for a desk where you might hold something up to the camera. Something tighter is better for a solo face shot on a client call. If your camera has a fixed wide view, move the camera closer rather than cropping later, and keep the frame from showing the ceiling or the hallway behind you.
Step six: Deal with focus. If you can lock focus, lock it, and set it once with your face in the frame. If you are stuck with autofocus, keep your movements slow and keep clutter out of the background, because a busy wall gives the autofocus more to hunt on. Autofocus that hunts during a podcast is annoying. Autofocus that hunts while you are walking a client through a schedule is expensive.
Step seven: Fix the audio. The camera microphone is a backup plan. Use a real mic, put it close to your mouth, and check that it is not picking up the HVAC vent or the fan in your desktop. Audio matters more than video on a call, and nobody has ever ended a meeting because the image was 1080p instead of 4K.
Step eight: Build the scene in OBS and test it for real. Set up the camera, the mic, and your screen share as separate sources, then record sixty seconds of yourself talking and watch it back with the sound on. Then do a dry run with a colleague on the exact platform the client uses, because browser calls and desktop apps do not always behave the same way. Once it looks right, save the scene and never rebuild it.
What I left out and why
I skipped the cameras that advertise 4K for less than the price of a decent dinner. Those are 1080p sensors with a marketing sticker, and the compression on a meeting platform will not send 4K anyway. You are paying for a number nobody receives.
I skipped the software-only fixes too. A filter that smooths your skin does not add light to the sensor, and it will not save a shot where the window is behind you. Fix the room first, then the settings.
I also left out the AI framing features that follow you around the frame. They are genuinely useful for a presenter walking a stage. They are actively bad when you are holding a drawing up to the camera, because the crop will drift exactly when you want it still.
What this all costs
The camera and the book are the only two purchases in this guide. Check current Amazon price on both, because both move around during sale events, and neither one needs to be bought twice. Everything else is already in the room: a lamp, a desk, and a free copy of OBS.
The real cost is the twenty minutes of setup you do once. Compare that to the cost of a proposal meeting where the client spends the first five minutes asking whether you are frozen, and the math stops being close. A camera that works and a process you can explain on the spot are the two cheapest forms of credibility a design-build team can buy.
Do it once, then forget it
Set the camera at eye level. Face the light. Lock exposure, white balance, and focus. Use a real microphone. Save the scene. Then read the proposal chapters of the book so the camera is the least interesting thing about your presentation.
That is the job. Your camera was built to do this. Let it.